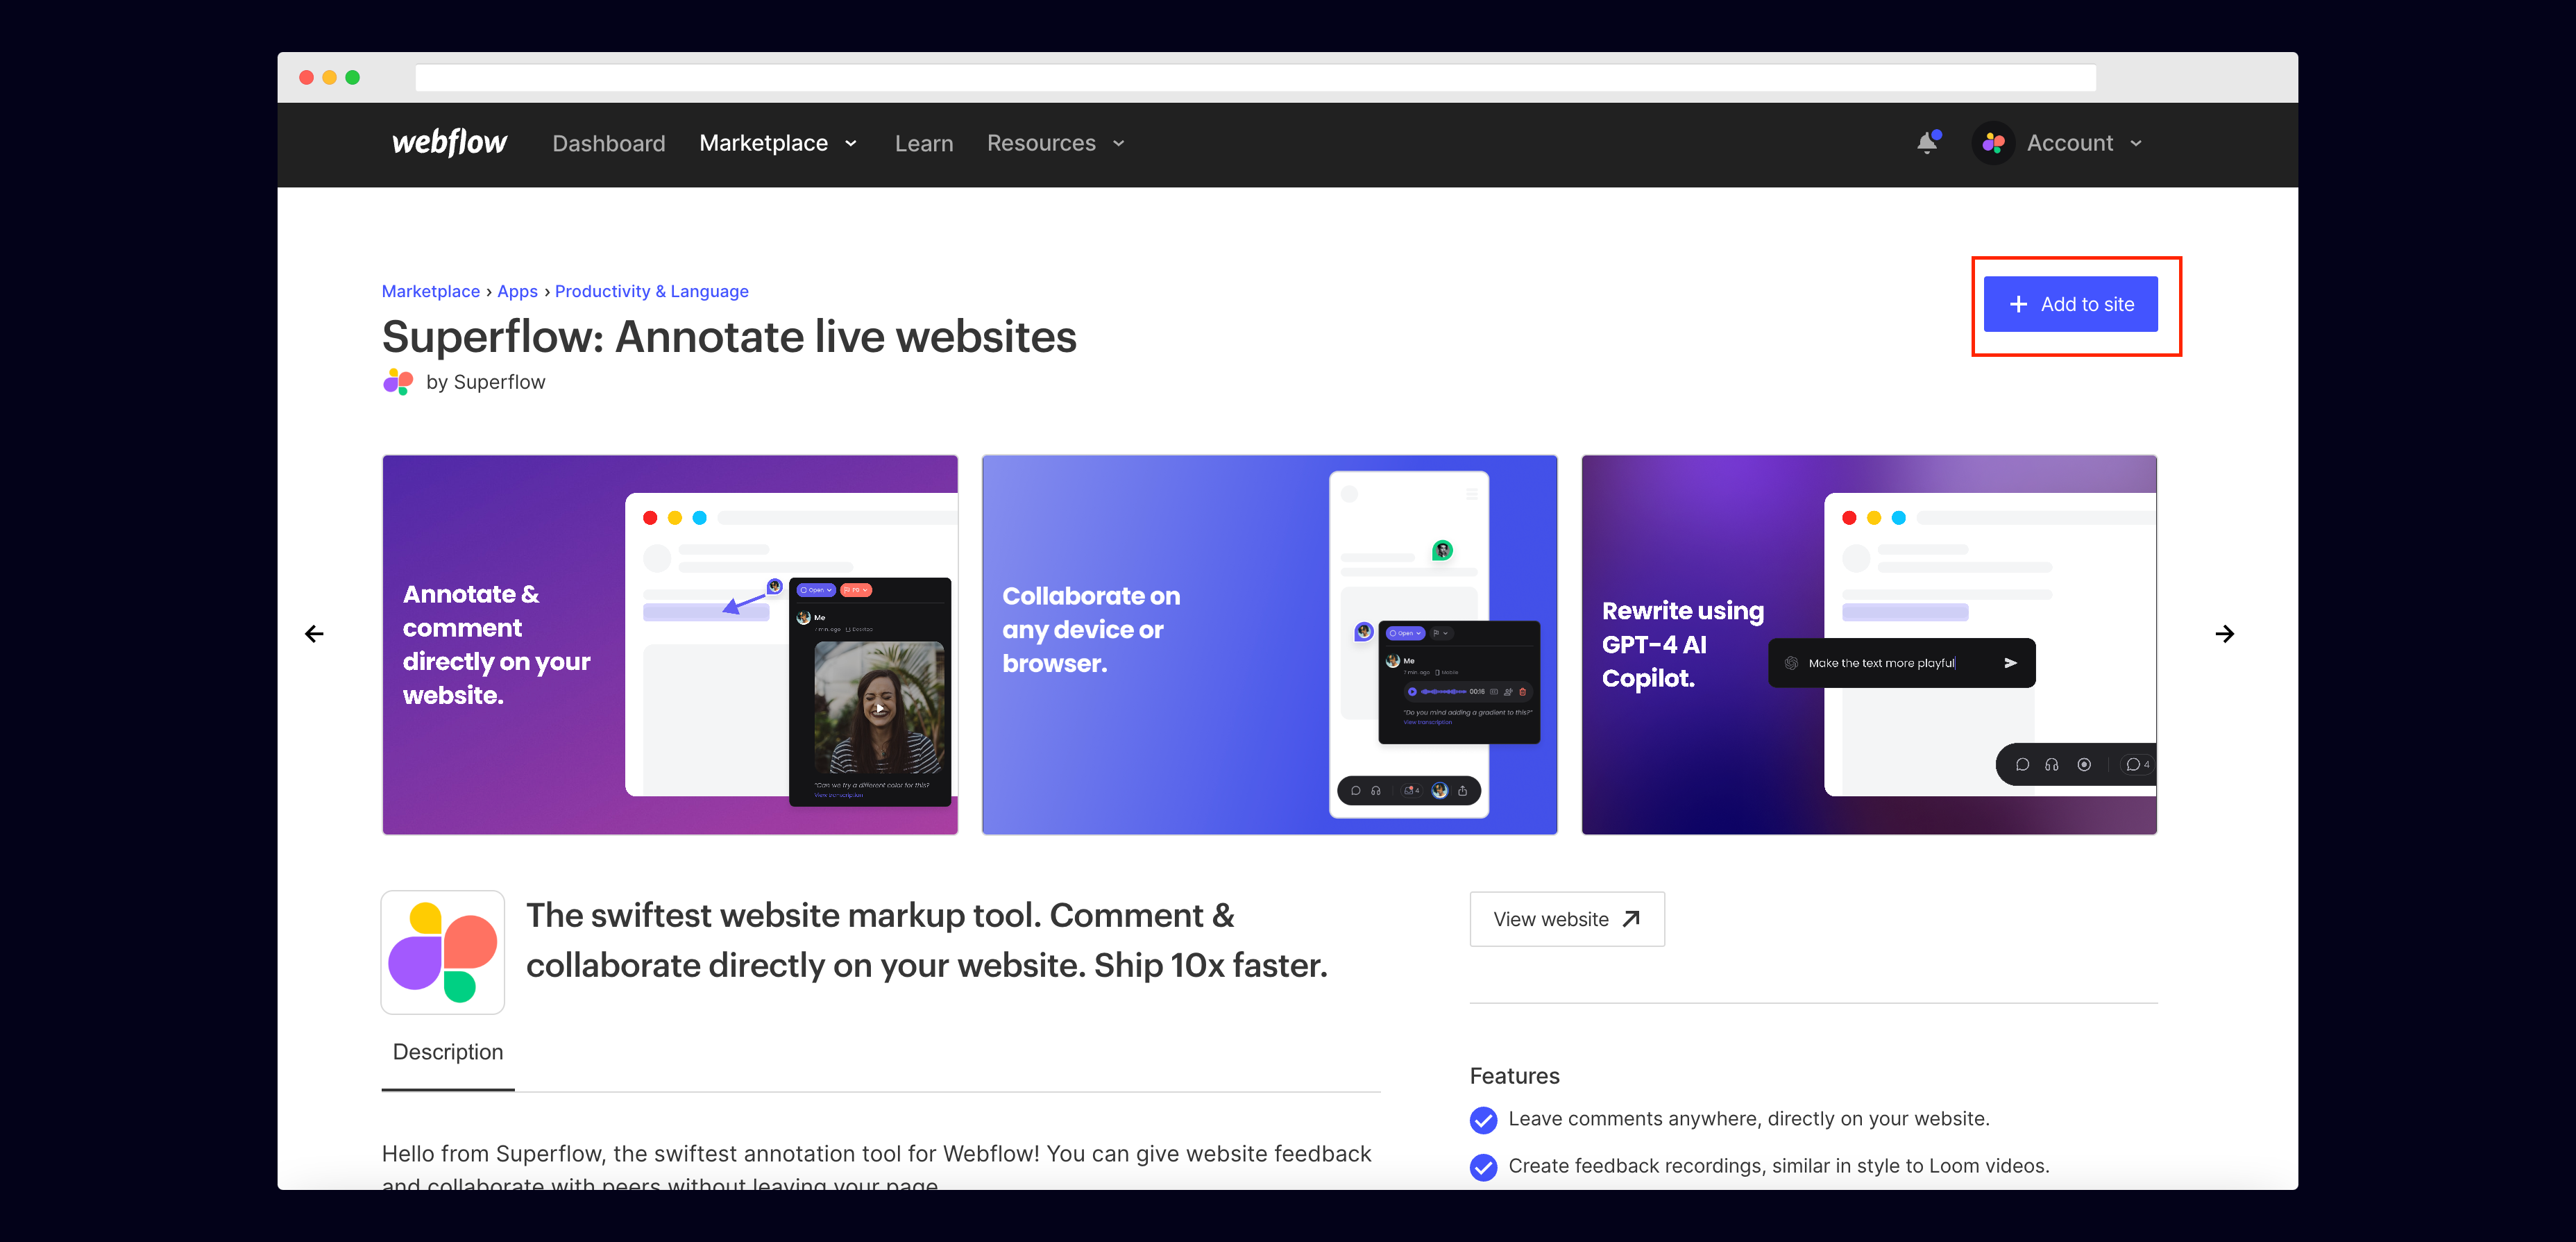
1) Go to the Superflow app on the Webflow Marketplace
Navigate to the Superflow app on the Webflow Marketplace by going to this link.2) Click ”+ Add to Site”
Click on+ Add to Site in the top right corner
3) Select the sites you want to add Superflow to
Select the Webflow sites you want to add Superflow to. Then click Authorize App.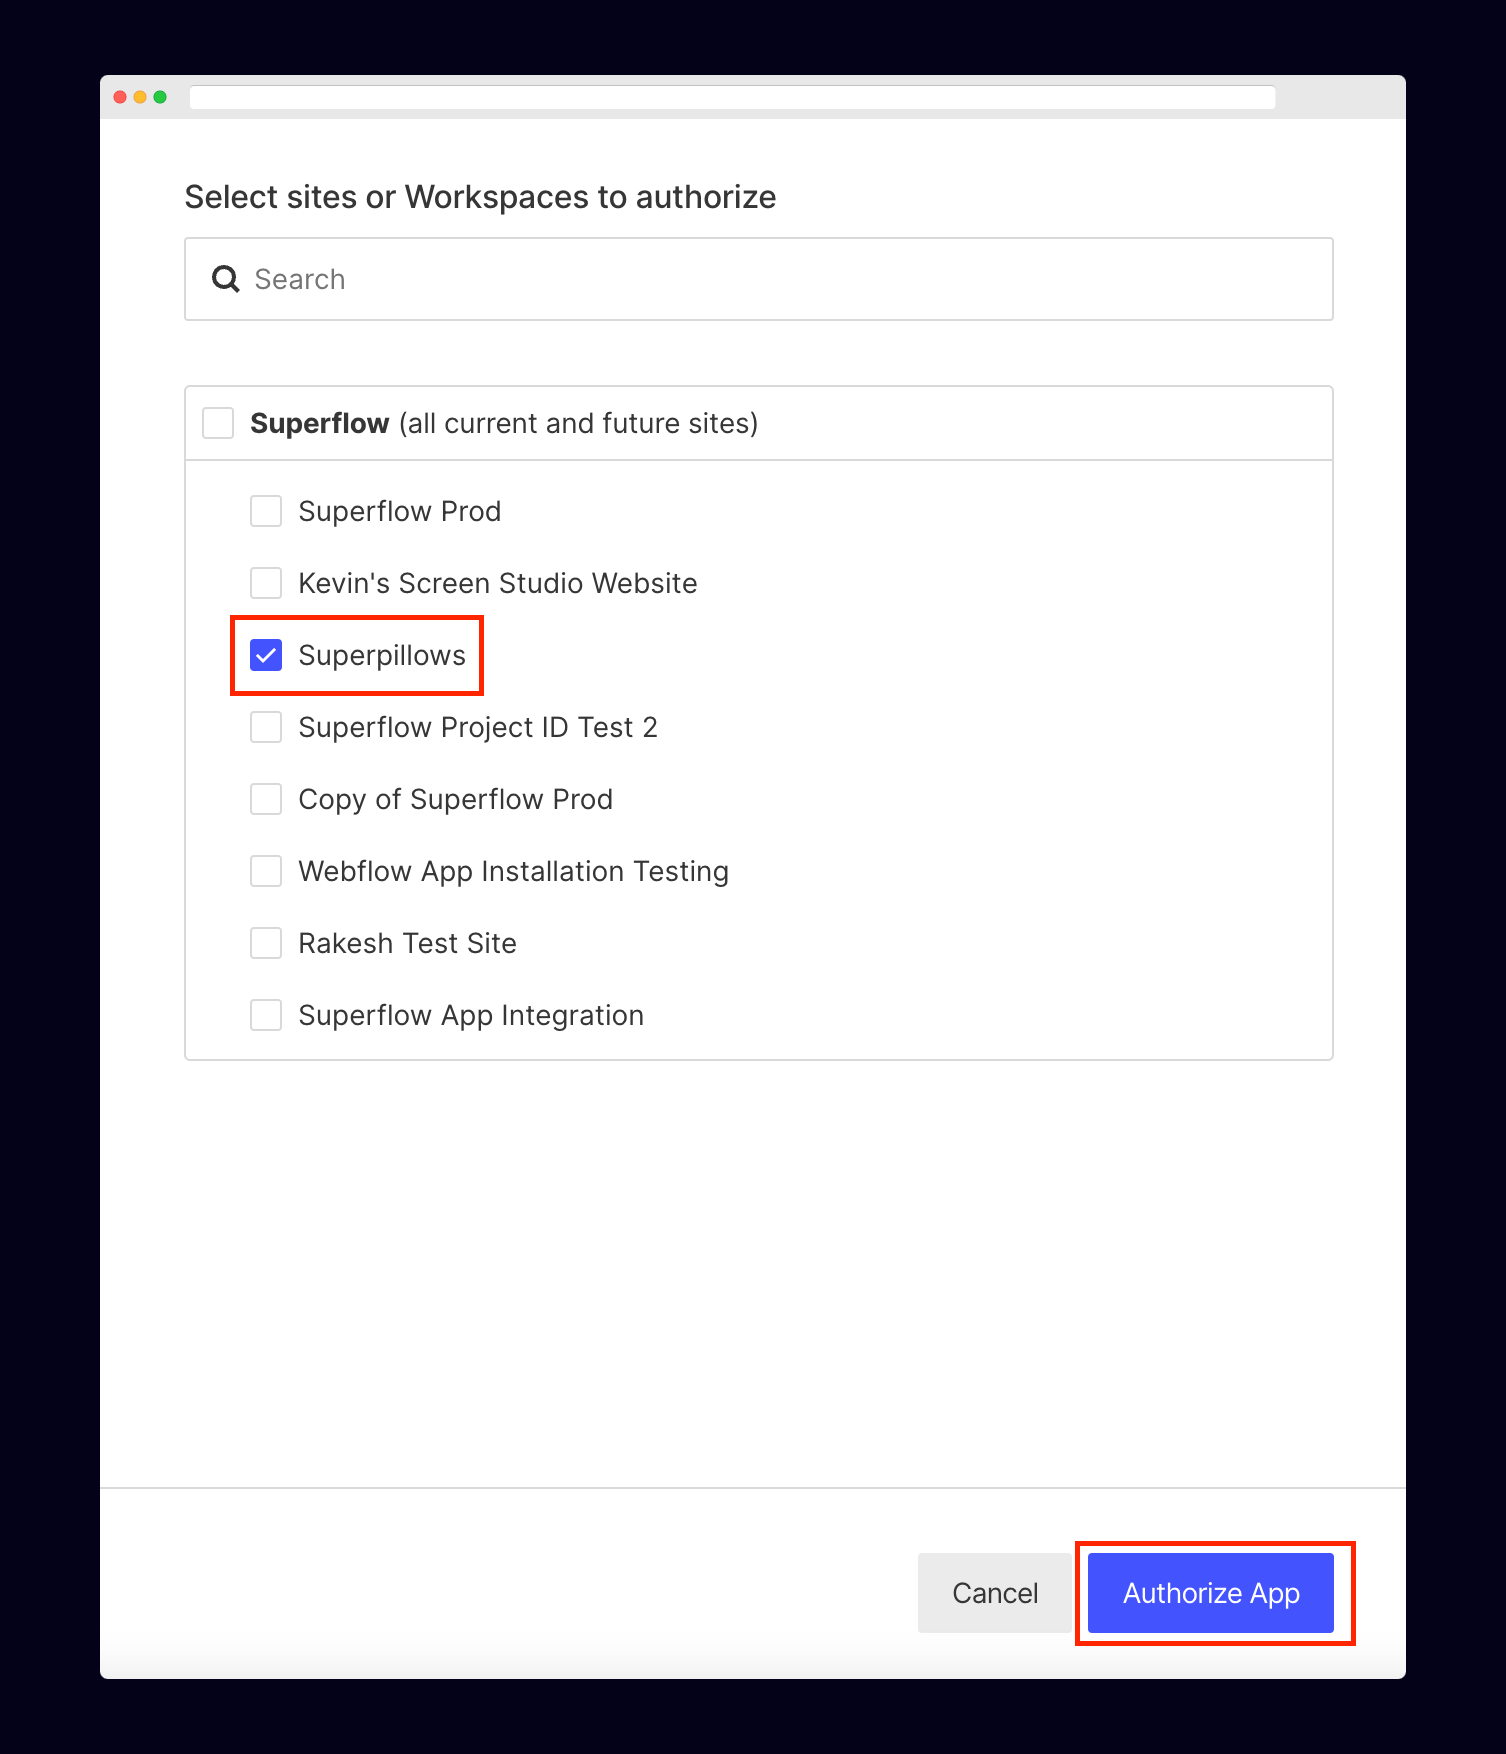
4) Create a Superflow Account
If you haven’t created a Superflow account, enter an email or log in with Google.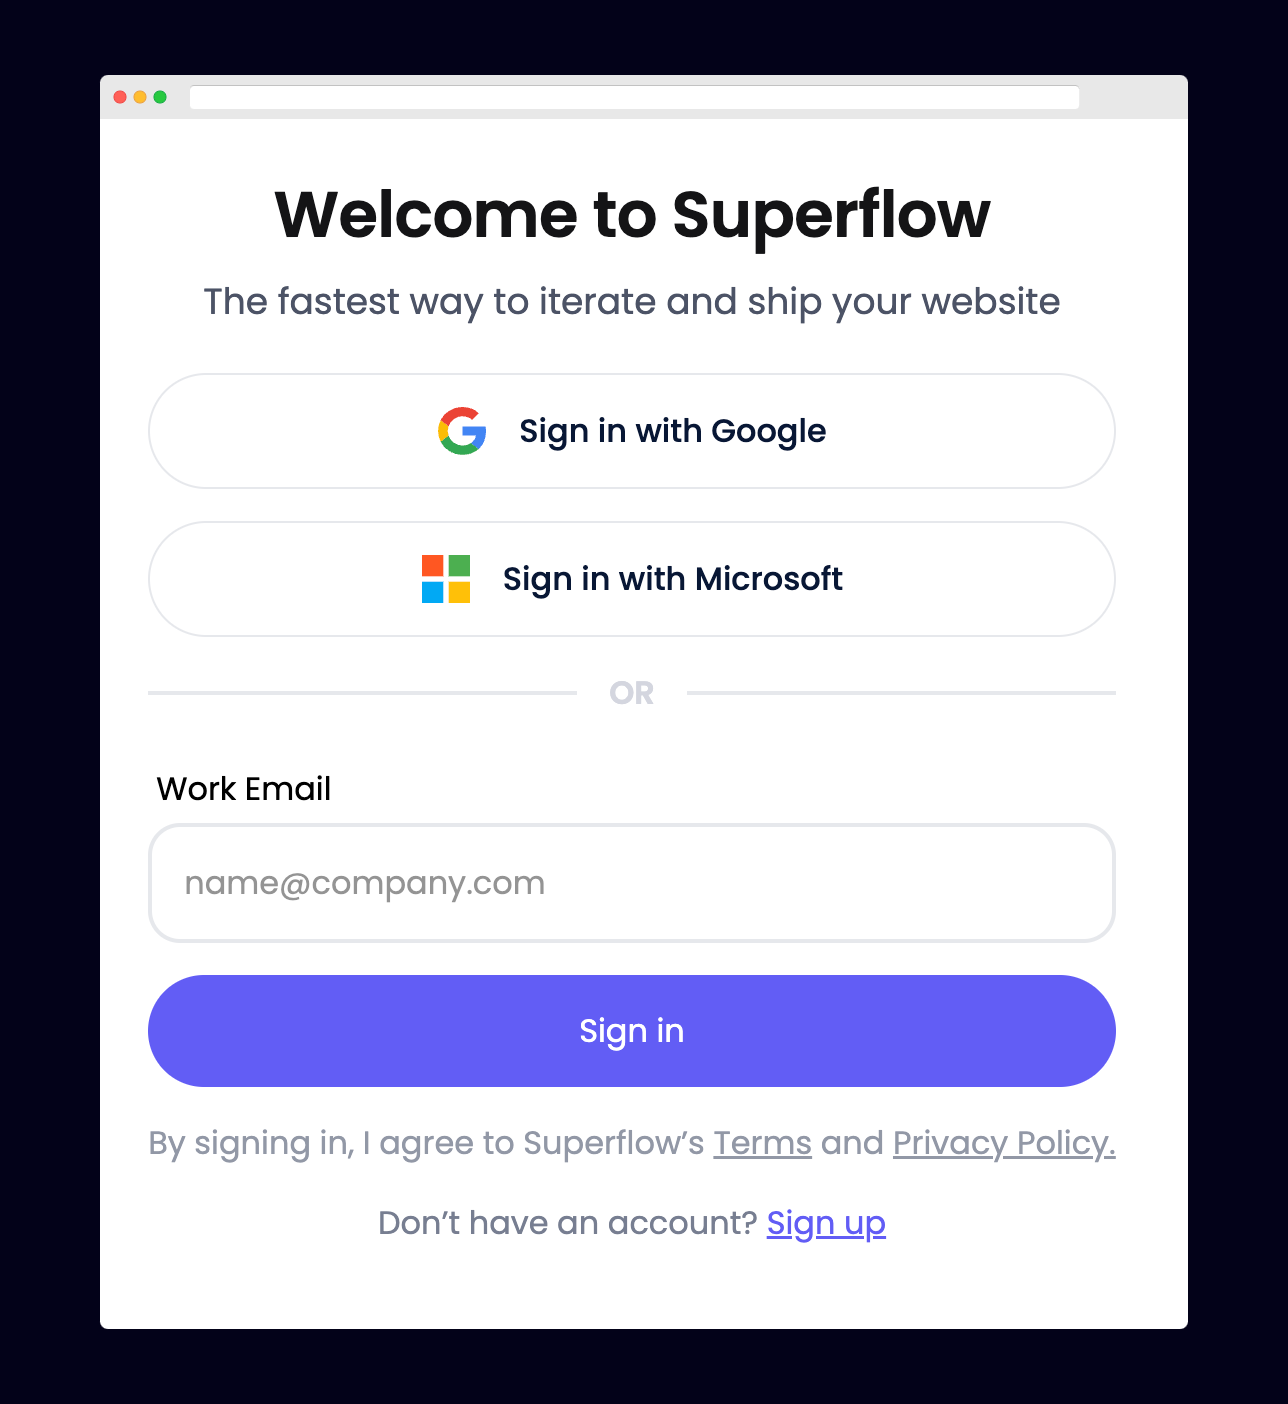
5) Verify that Superflow has been installed
Click the Verify Install button to verify that Superflow was installed correctly on your Webflow site.
6) Troubleshooting
Having trouble getting your verifying your installation? Here are the common mistakes users encounter when installing Superflow:- Did you forget to publish your site?
- Is the browser still loading a cached version?
- Did you add
?review=trueat the end of your url?
7) Navigate to your Webflow site
Now that you have verified that Superflow has been installed on your Webflow site, navigate to your published site and add?review=true at the end of the URL to enable Superflow.
Example: mywebsite.webflow.com/?review=true
8) Test out Superflow
You should now see a Superflow toolbar on the bottom right of your screen.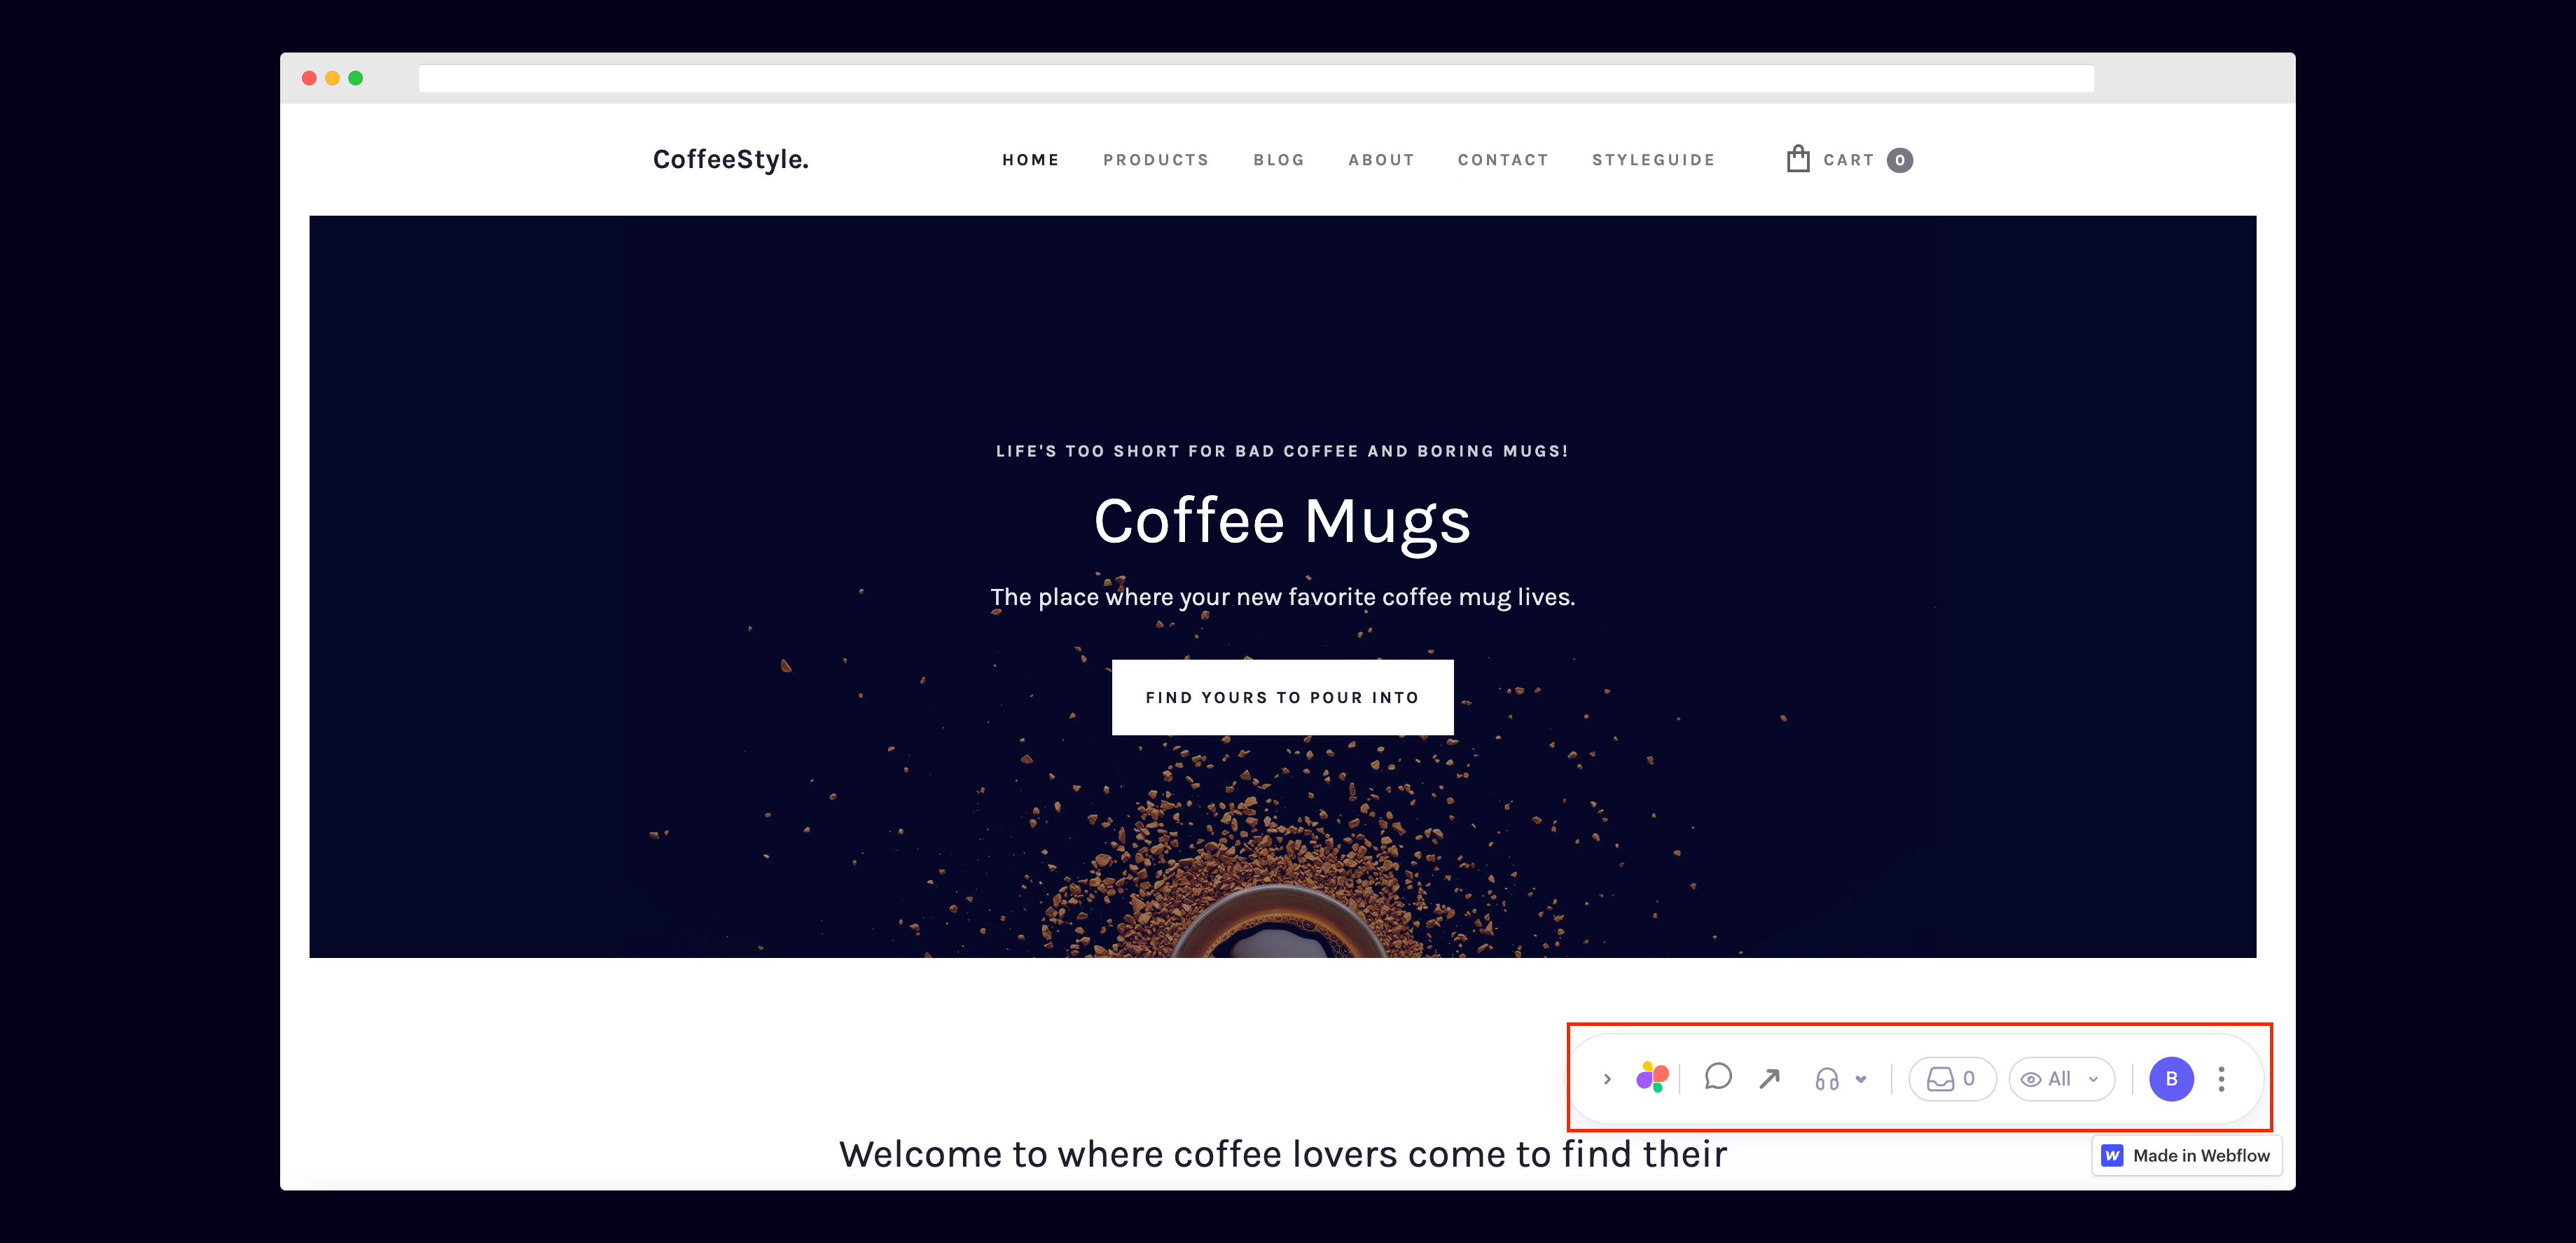
9) Dropping your first comment
Try leaving a comment on your page. You can leave a comment in several different ways:- By highlighting any text
- By hovering over any element on the page
- By drawing a box anywhere on the page

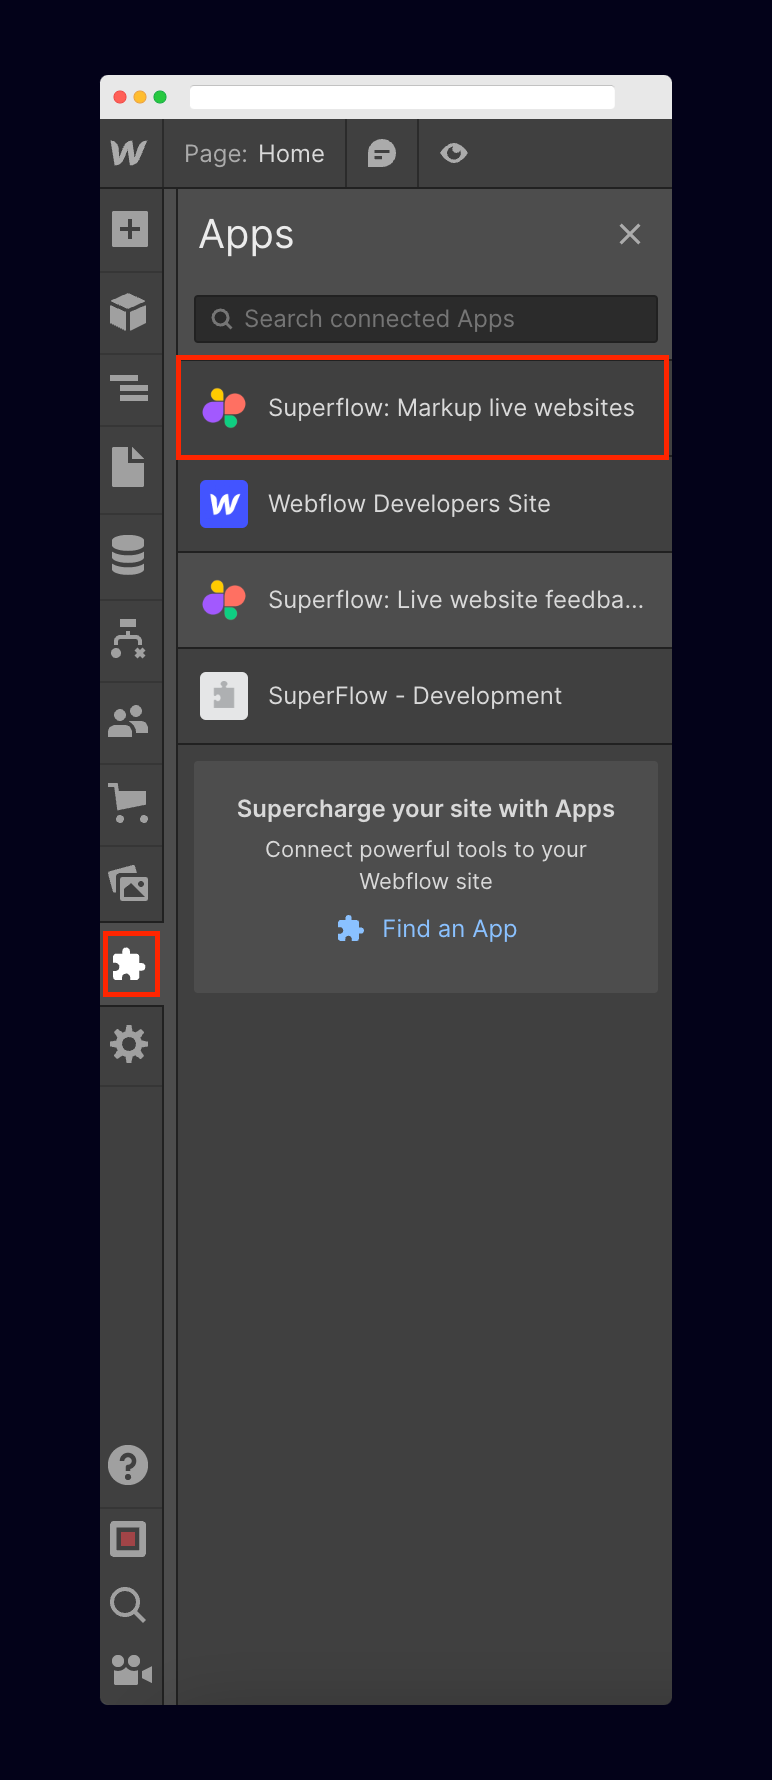
10) Test out the Superflow extension on the Webflow Site Designer
To access the Superflow extension, go to your Webflow site’s designer section and click on the Apps button on the side menu. Then hover over the Superflow app and click Launch.