How to Upload Custom Branding
In this article, you will learn how to apply custom branding to your Superflow account. Access the Superflow Dashboard by going to app.usesuperflow.com. Alternatively, when you are in Review Mode, you can use the method below:- Find the Superflow Toolbar and click the More Options icon.

- A sub-menu will expand, click the View Project option to select.
- A new tab will direct you to the Project Dashboard page.
Note: By default, you will be directed to the Dashboard for Comment Status screen when accessing the Project Dashboard.
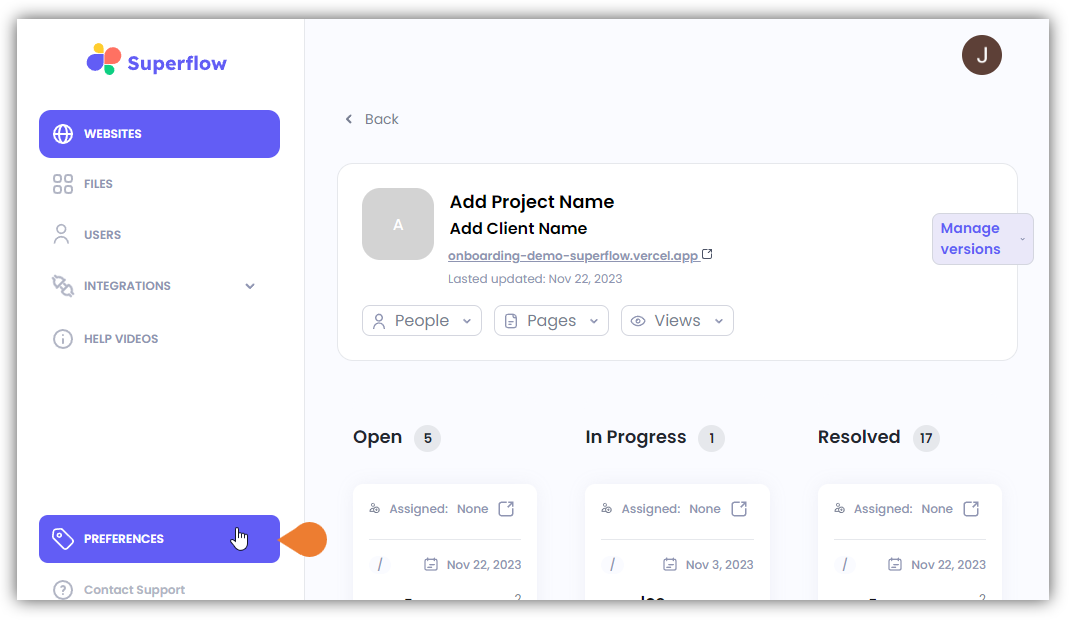
- Click the PREFERENCES module to access the branding Custom Branding page.
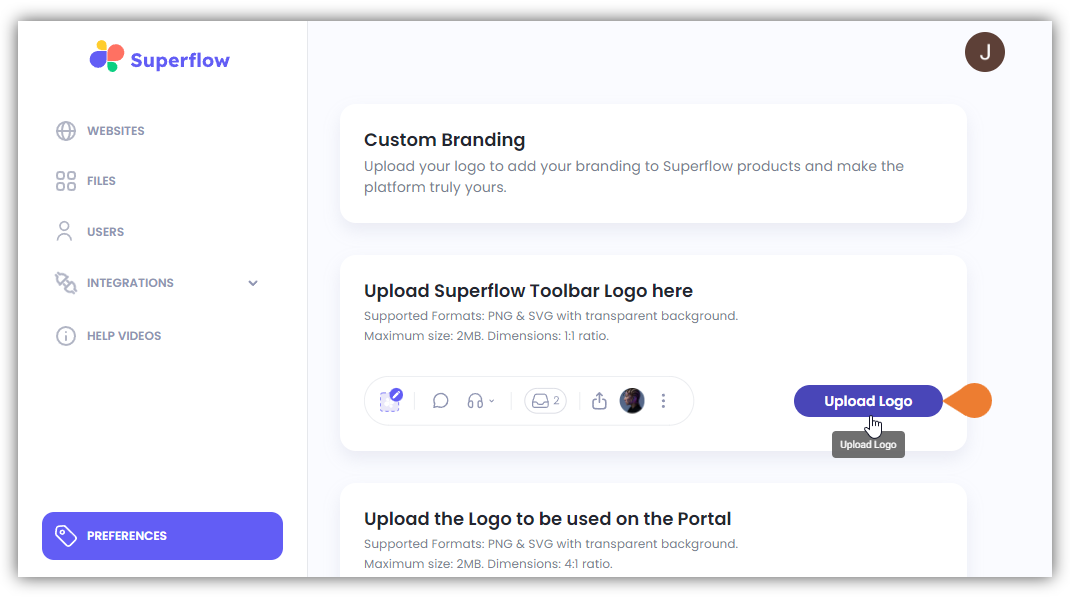
- There are two (2) branding sections that you can customize; (a) the Superflow Toolbar Logo and (b) the Portal Logo.
- In this example, we will customize the Superflow Toolbar Logo. Go to the Upload Superflow Toolbar Logo here panel and click the Upload Logo button.
- The File Location window will appear, find and select the Image File that you want to upload.
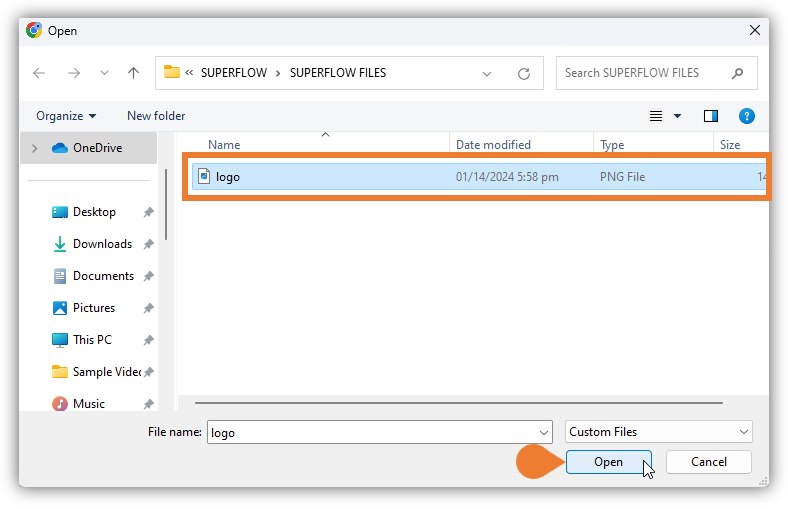
- Click Open to continue uploading the selected file.