> ## Documentation Index
> Fetch the complete documentation index at: https://docs.usesuperflow.com/llms.txt
> Use this file to discover all available pages before exploring further.
# Setup
> How to setup Superflow with Elementor
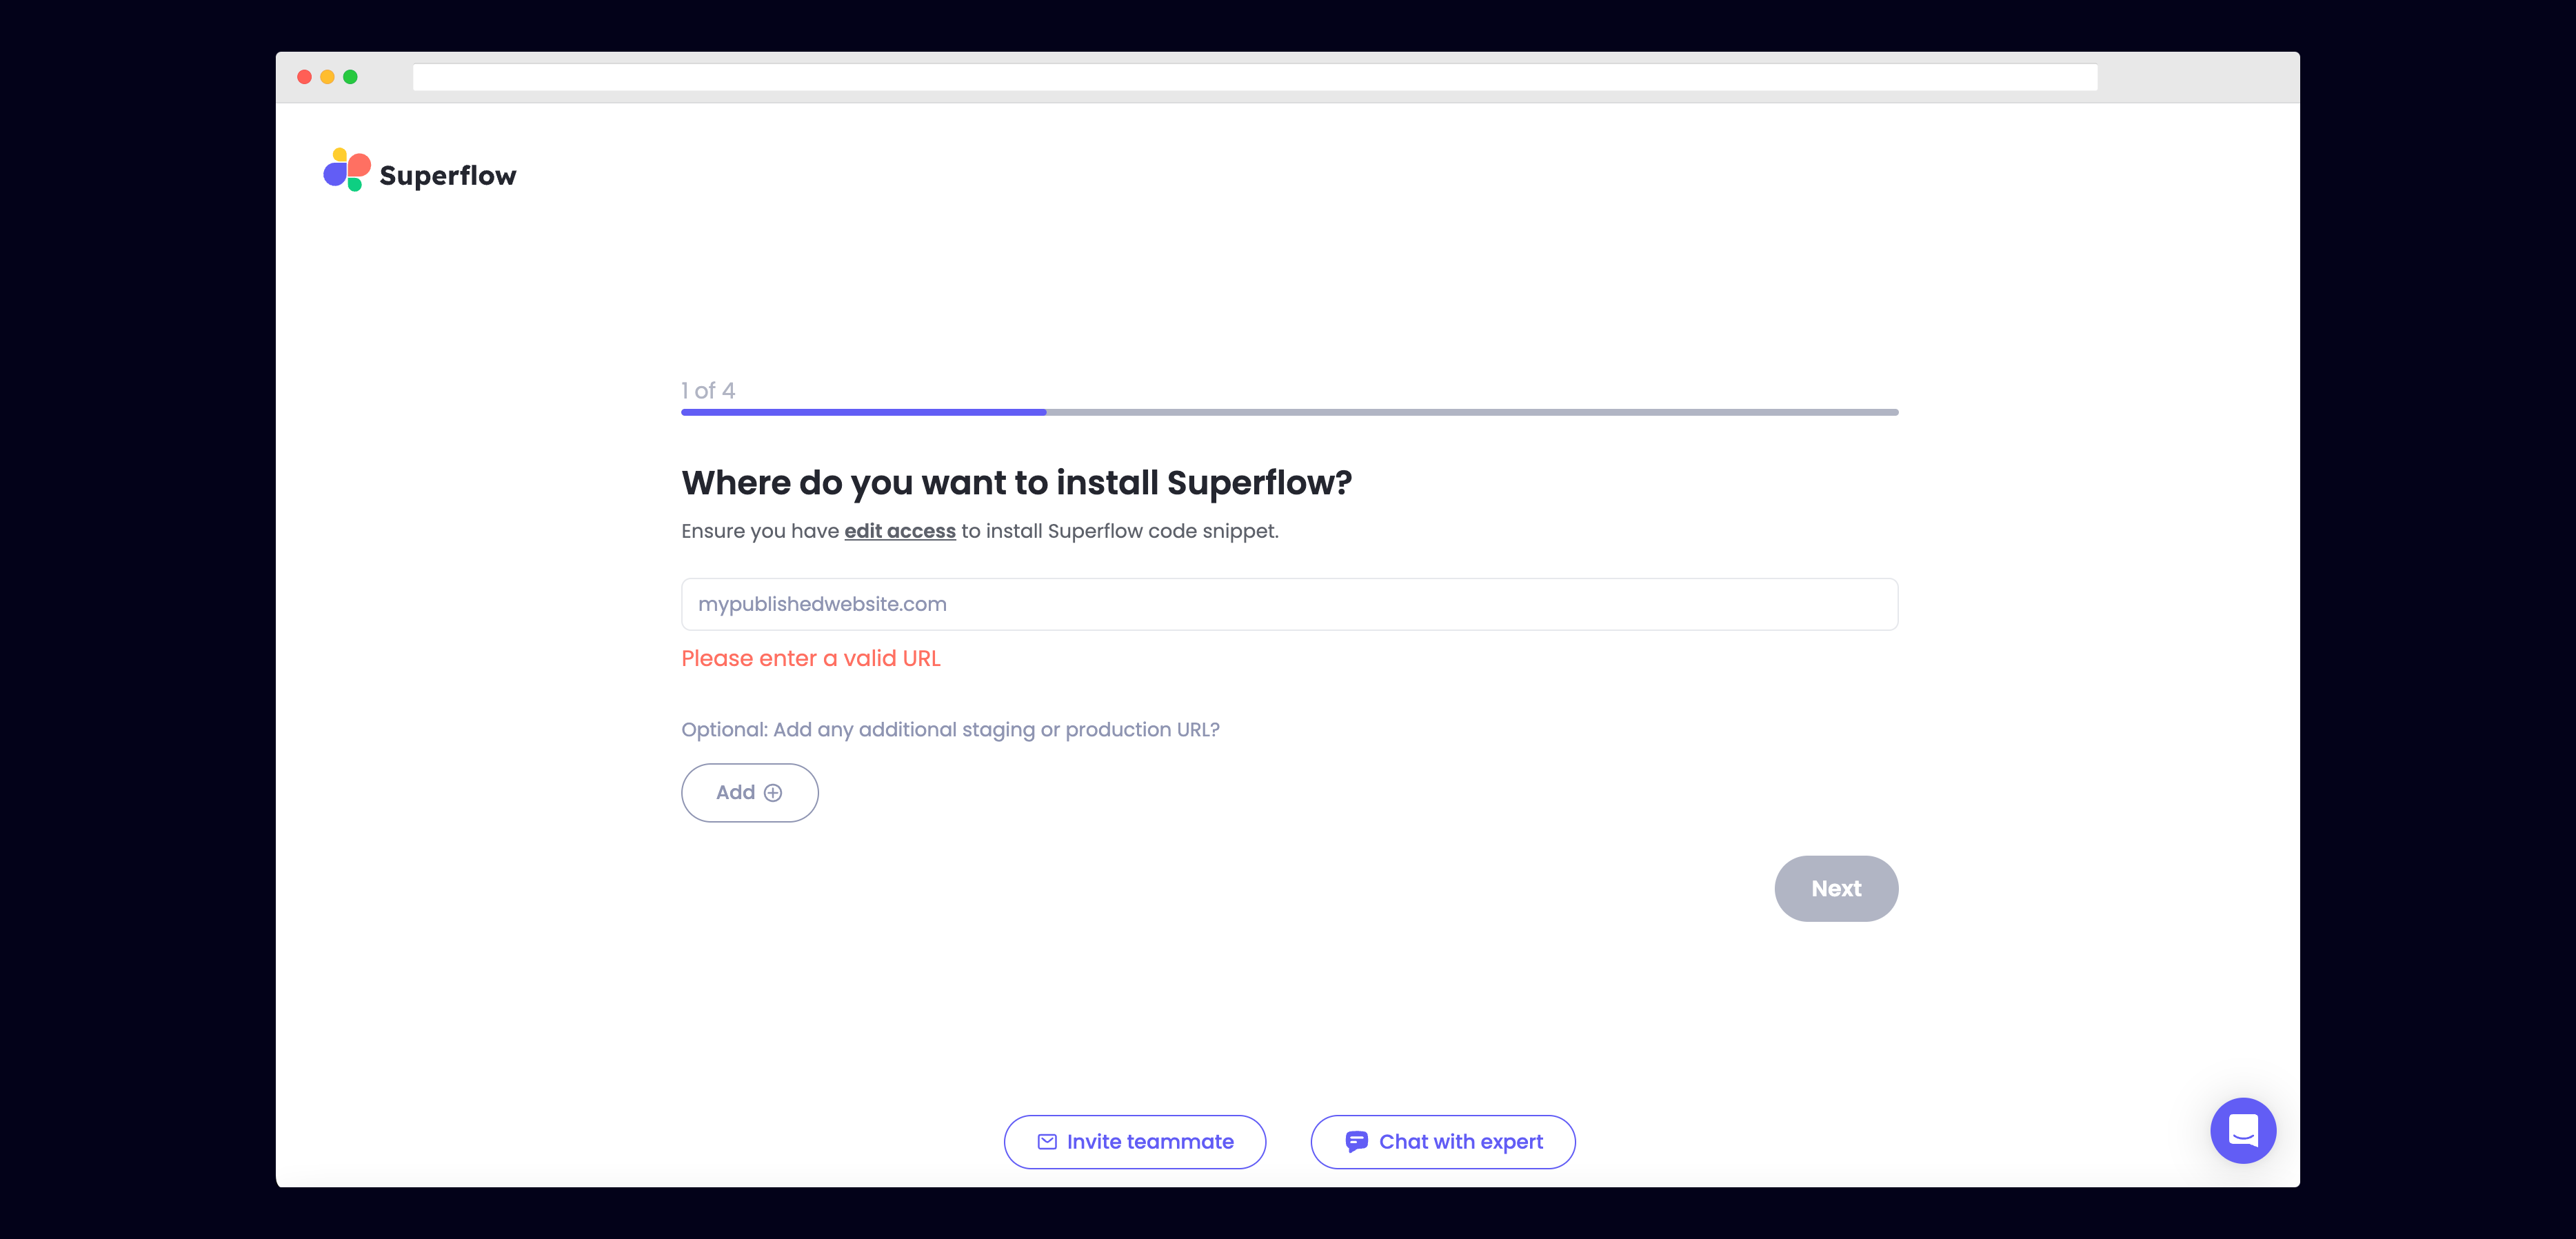
## 1) Enter Your Site URL
Enter the site URL you want Superflow to be installed in.
 ## 2) Select Other from the list of Platforms
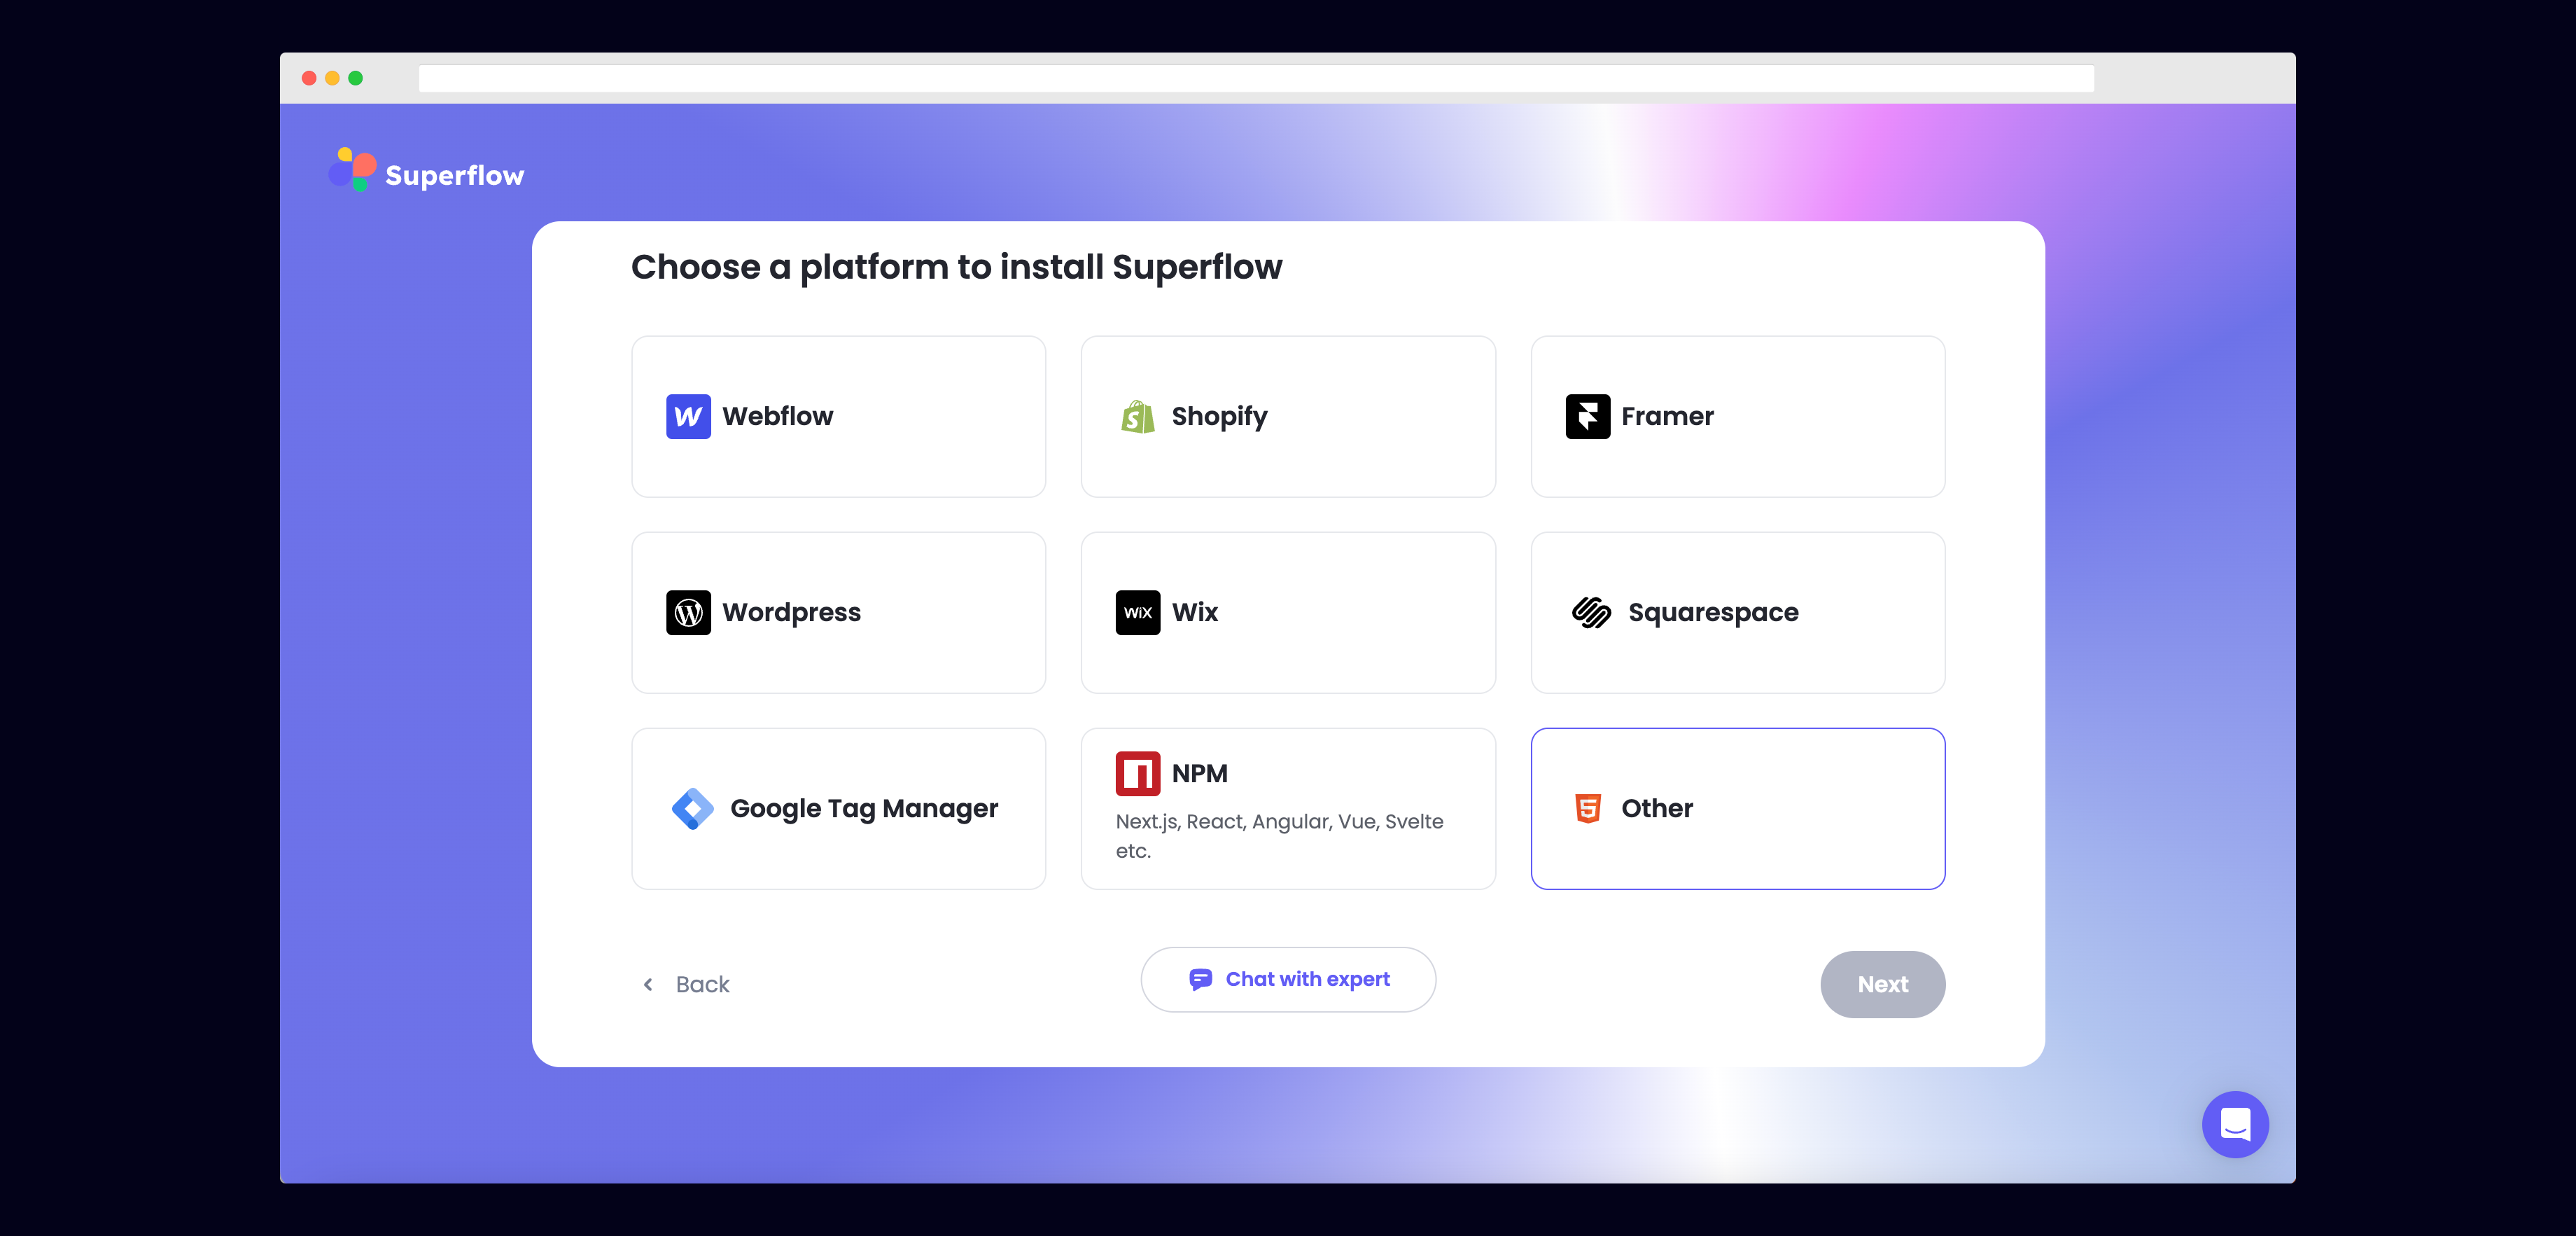
Choose Other from the list of options to install Superflow with Elementor.
## 2) Select Other from the list of Platforms
Choose Other from the list of options to install Superflow with Elementor.
 ## 3) Copy your unique Superflow code
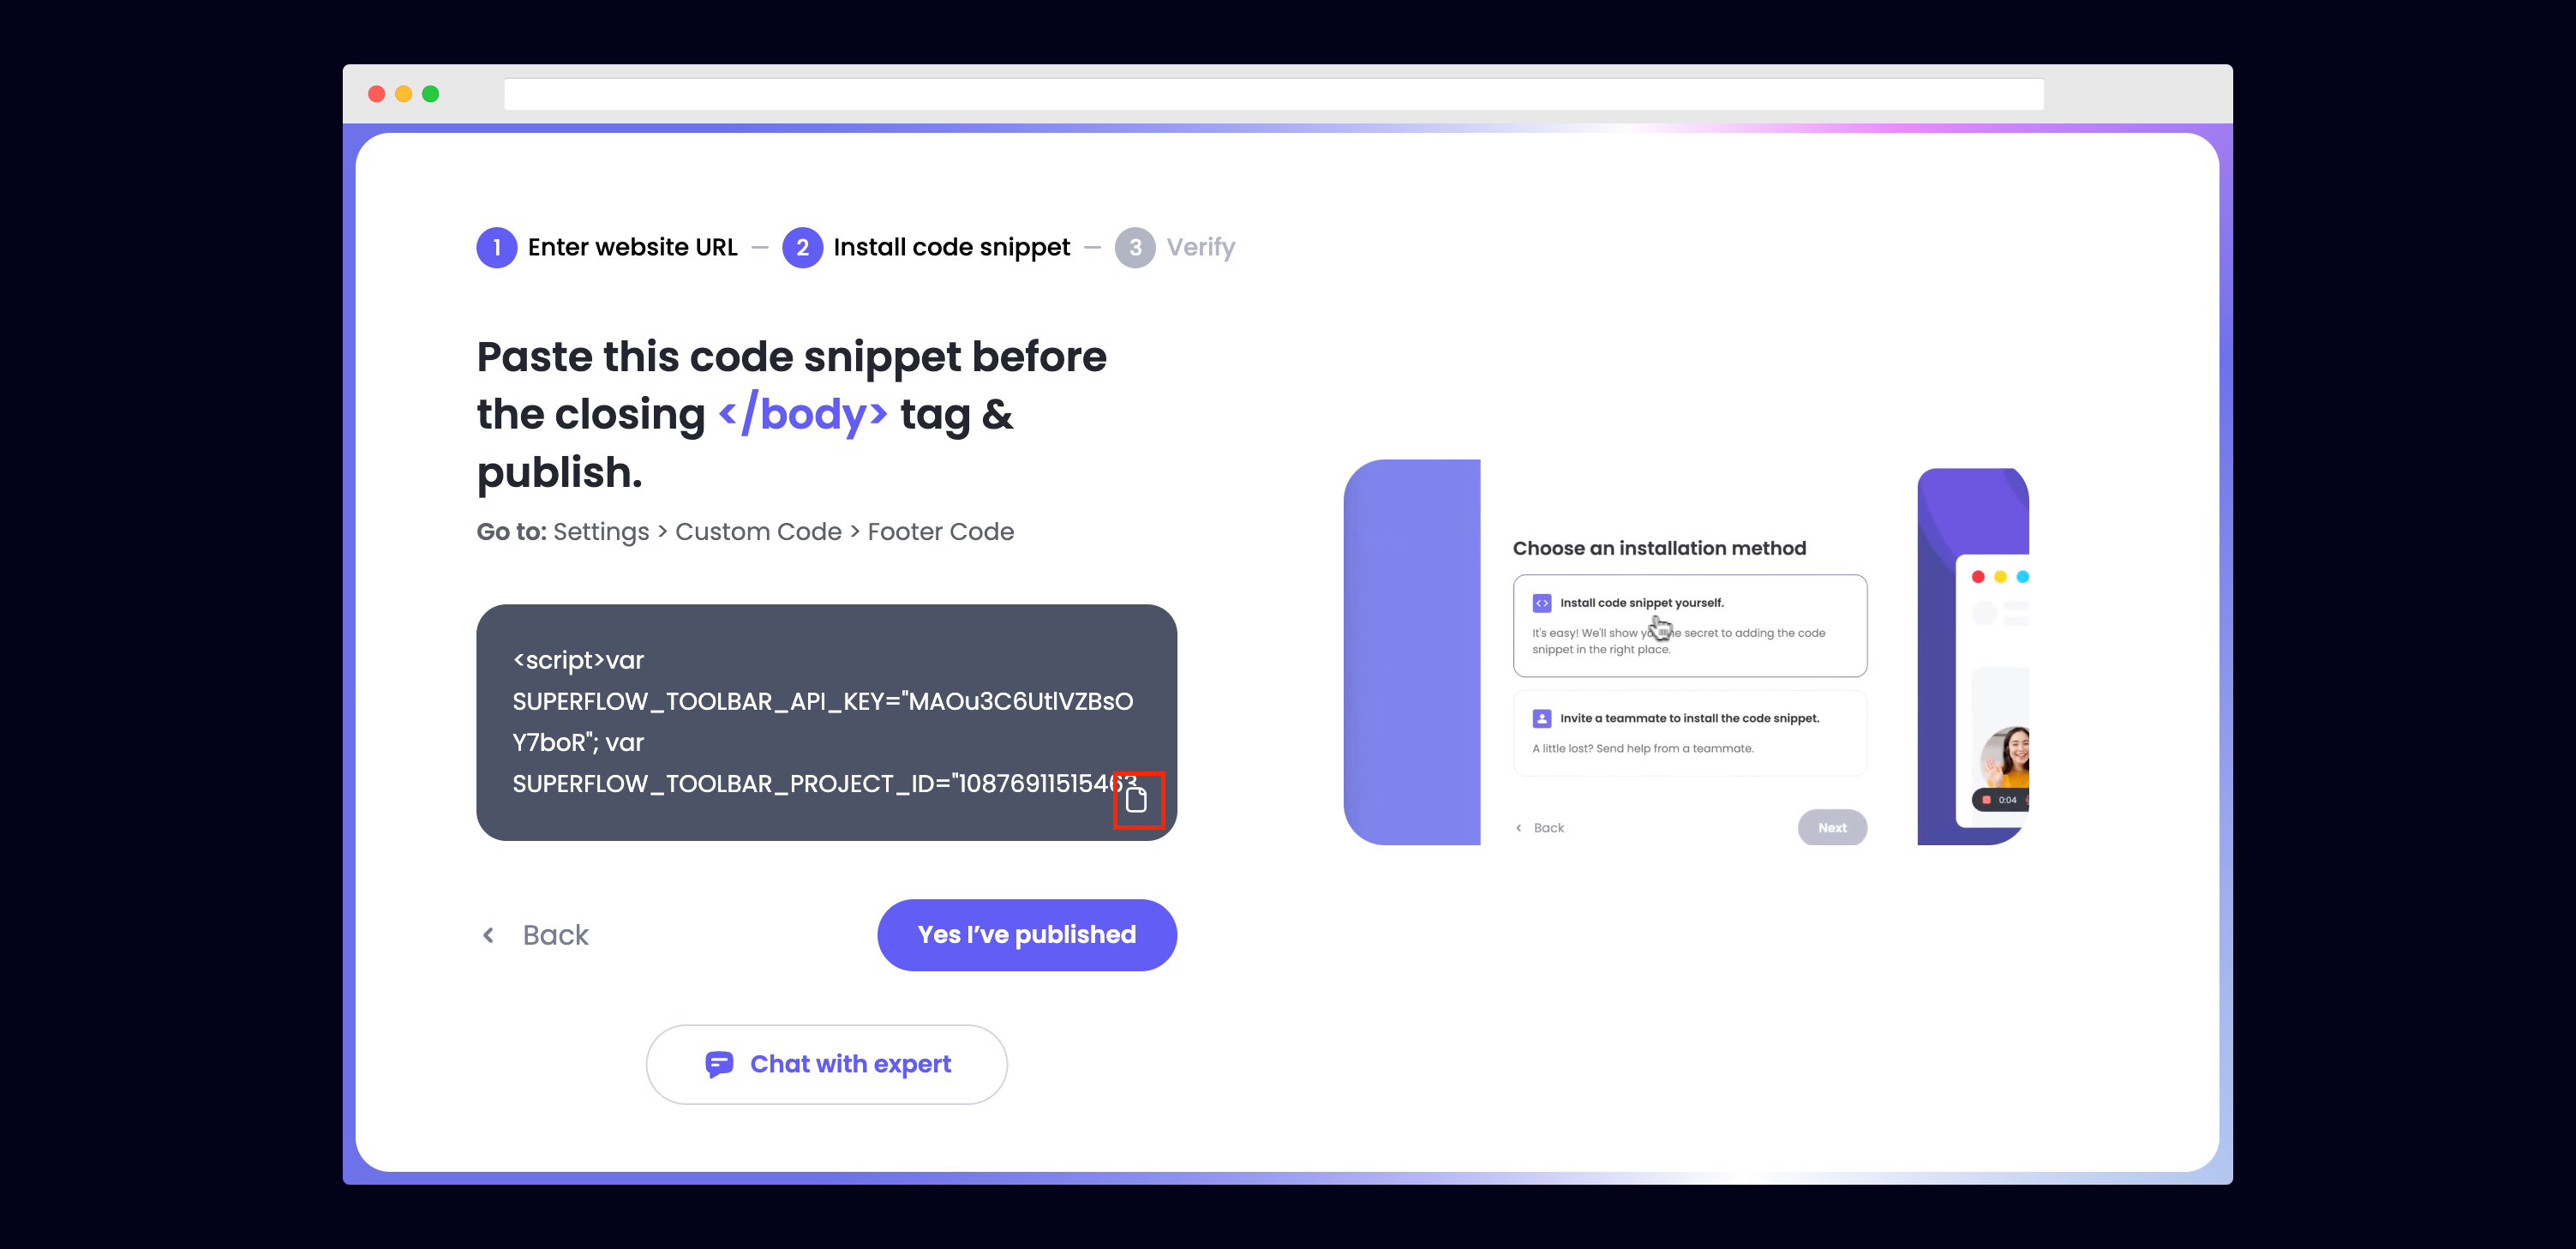
You can copy your unique Superflow code from the onboarding flow or from your project settings in your dashboard.
## 3) Copy your unique Superflow code
You can copy your unique Superflow code from the onboarding flow or from your project settings in your dashboard.
 ## 4) Go to your Wordpress Dashboard, then click on Custom Code under Elementor
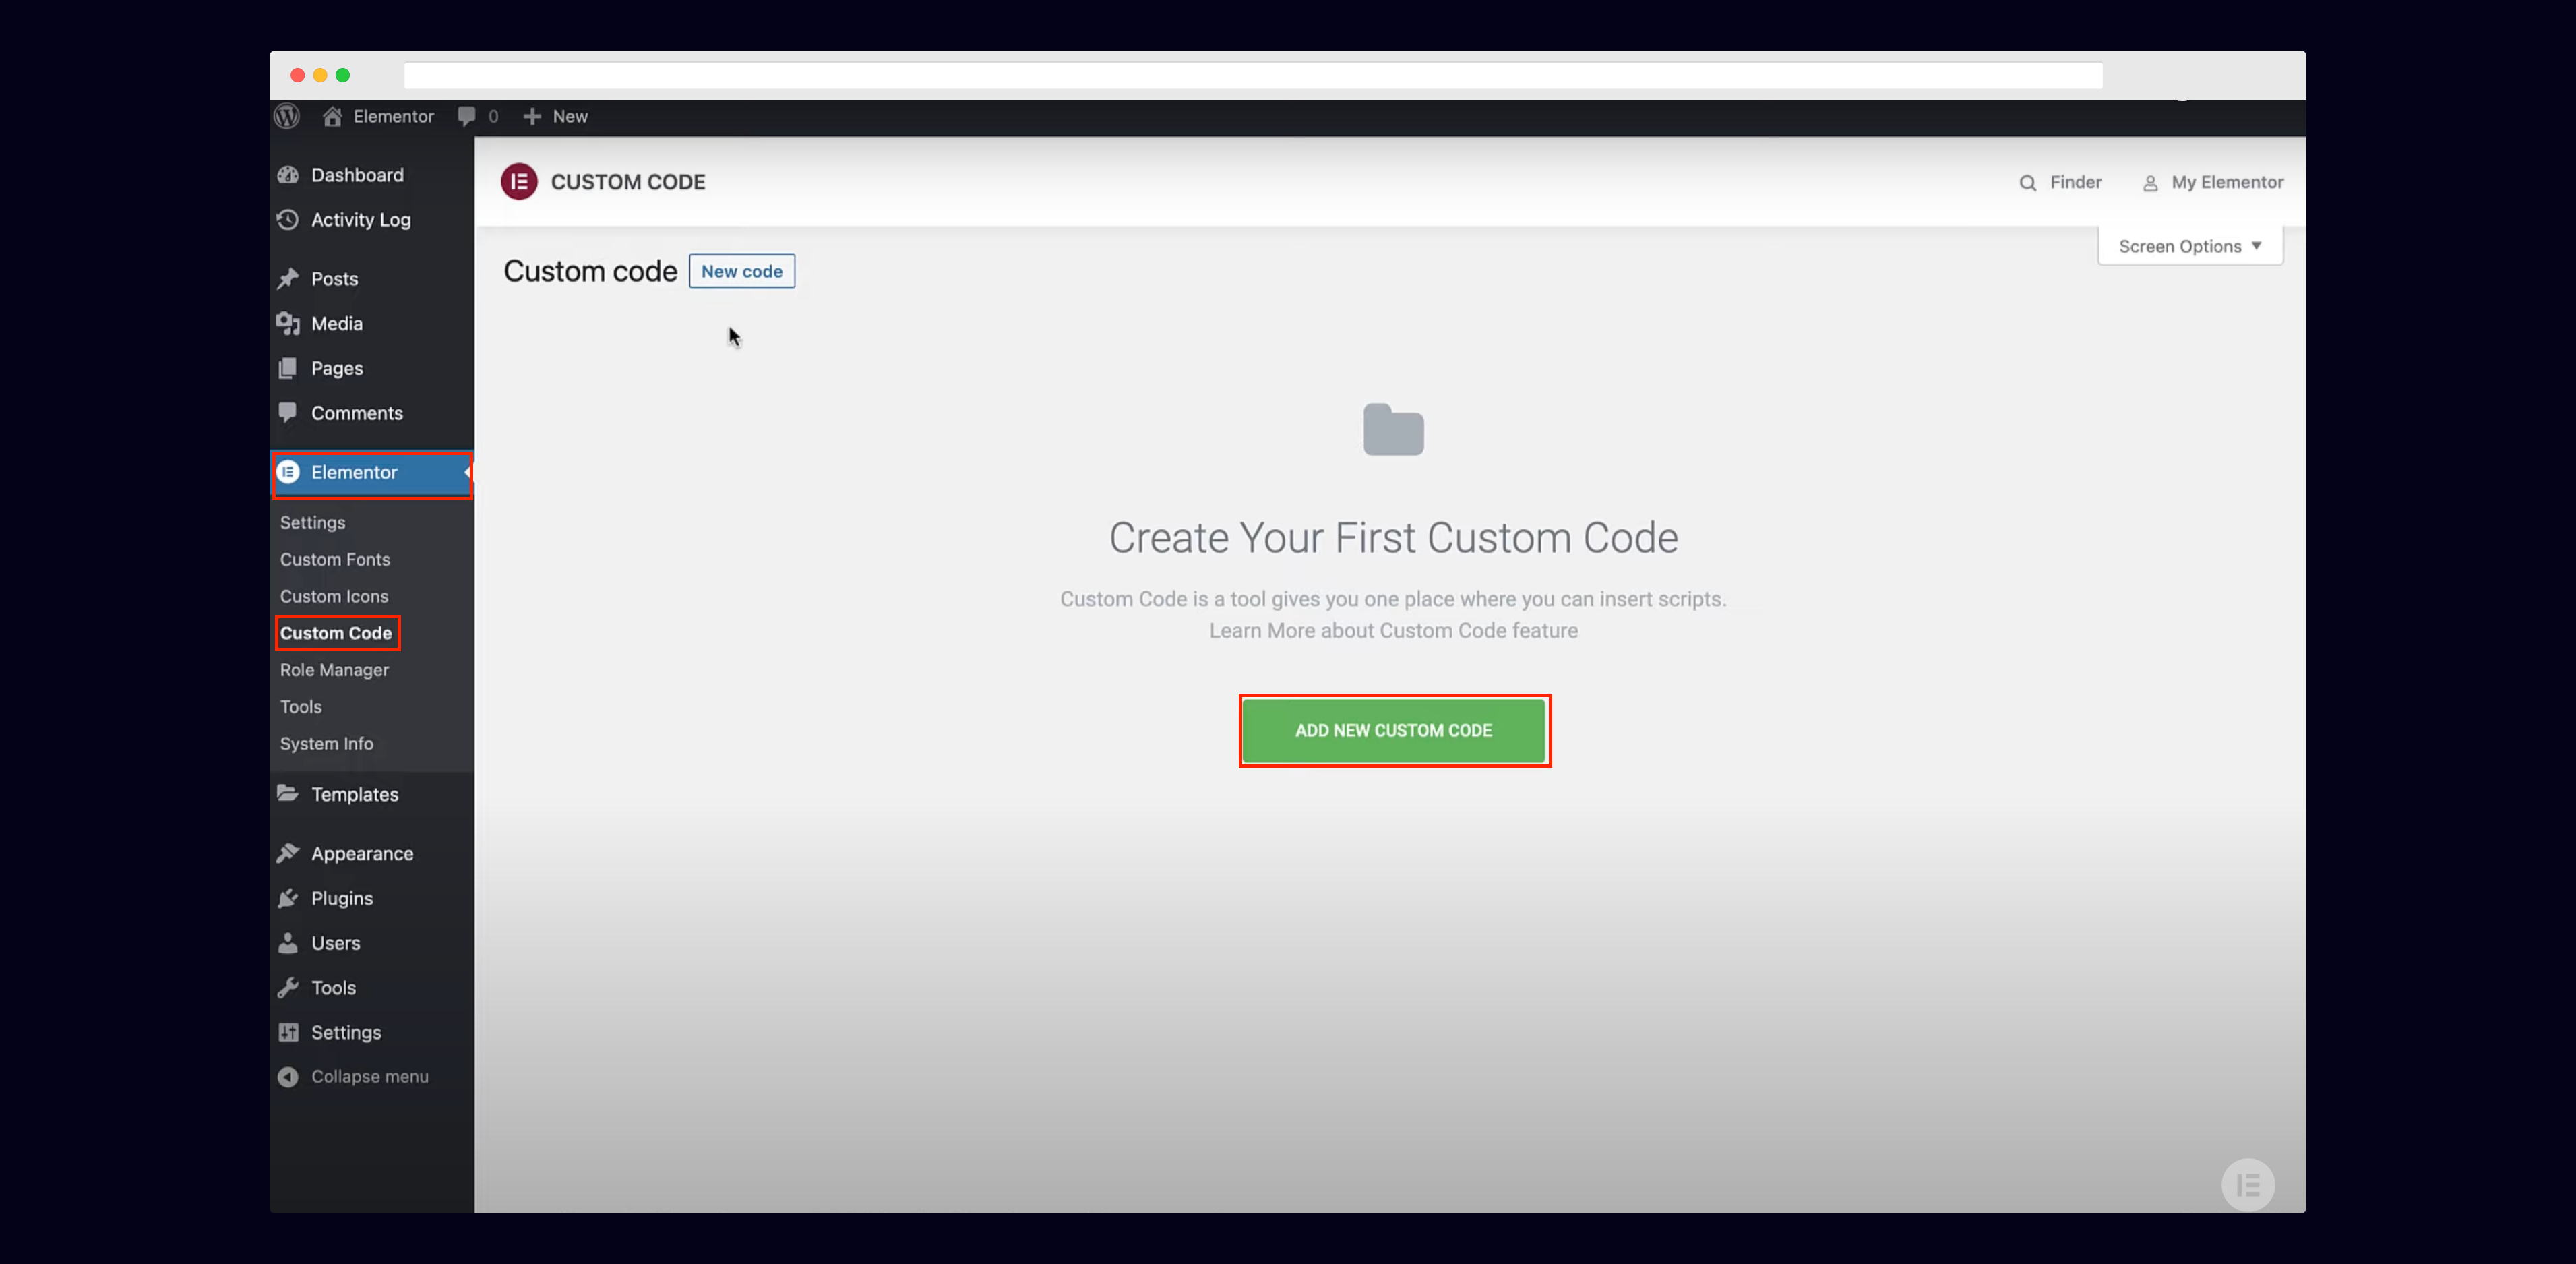
Go to your Wordpress Dashboard then click on Elementor in the side navigation.
Next, click on Custom Code and then click Create New Custom Code to add your unique Superflow code
## 4) Go to your Wordpress Dashboard, then click on Custom Code under Elementor
Go to your Wordpress Dashboard then click on Elementor in the side navigation.
Next, click on Custom Code and then click Create New Custom Code to add your unique Superflow code
 ## 5) Add Your unique Superflow Code
Create a new Custom Code title and paste in your unique Superflow Code
## 5) Add Your unique Superflow Code
Create a new Custom Code title and paste in your unique Superflow Code
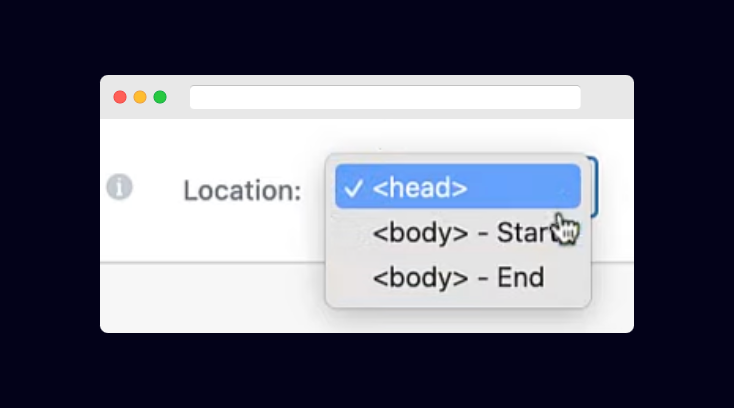
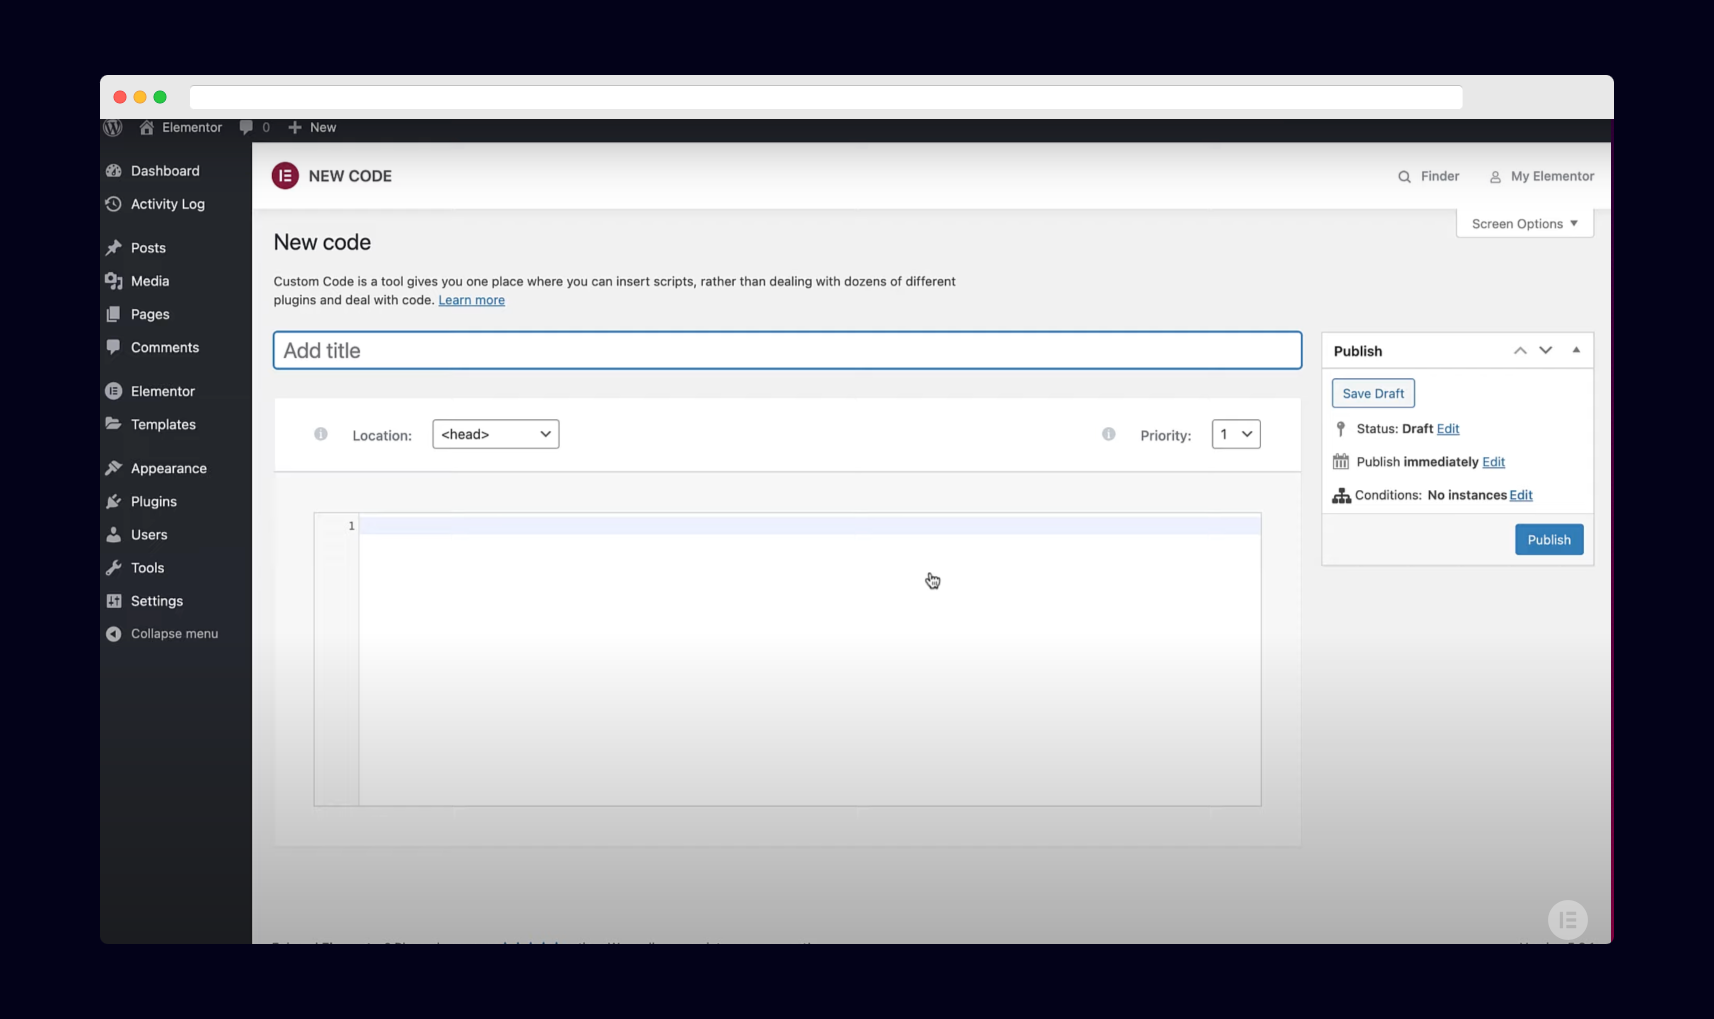 Be sure to change the location to ` - End`.
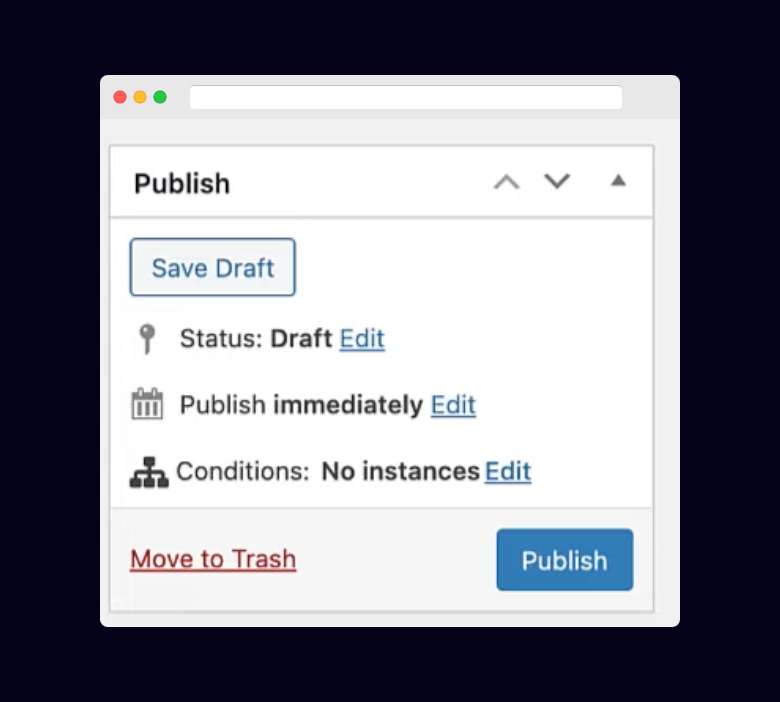
 ## 5) Publish your Elementor site
Click the Publish button at the right of the page to publish your Elementor site.
## 5) Publish your Elementor site
Click the Publish button at the right of the page to publish your Elementor site.
 ## 6) Verify your Installation
Verify your Superflow installation by clicking the Verify button on the onboarding flow.
## 6) Verify your Installation
Verify your Superflow installation by clicking the Verify button on the onboarding flow.
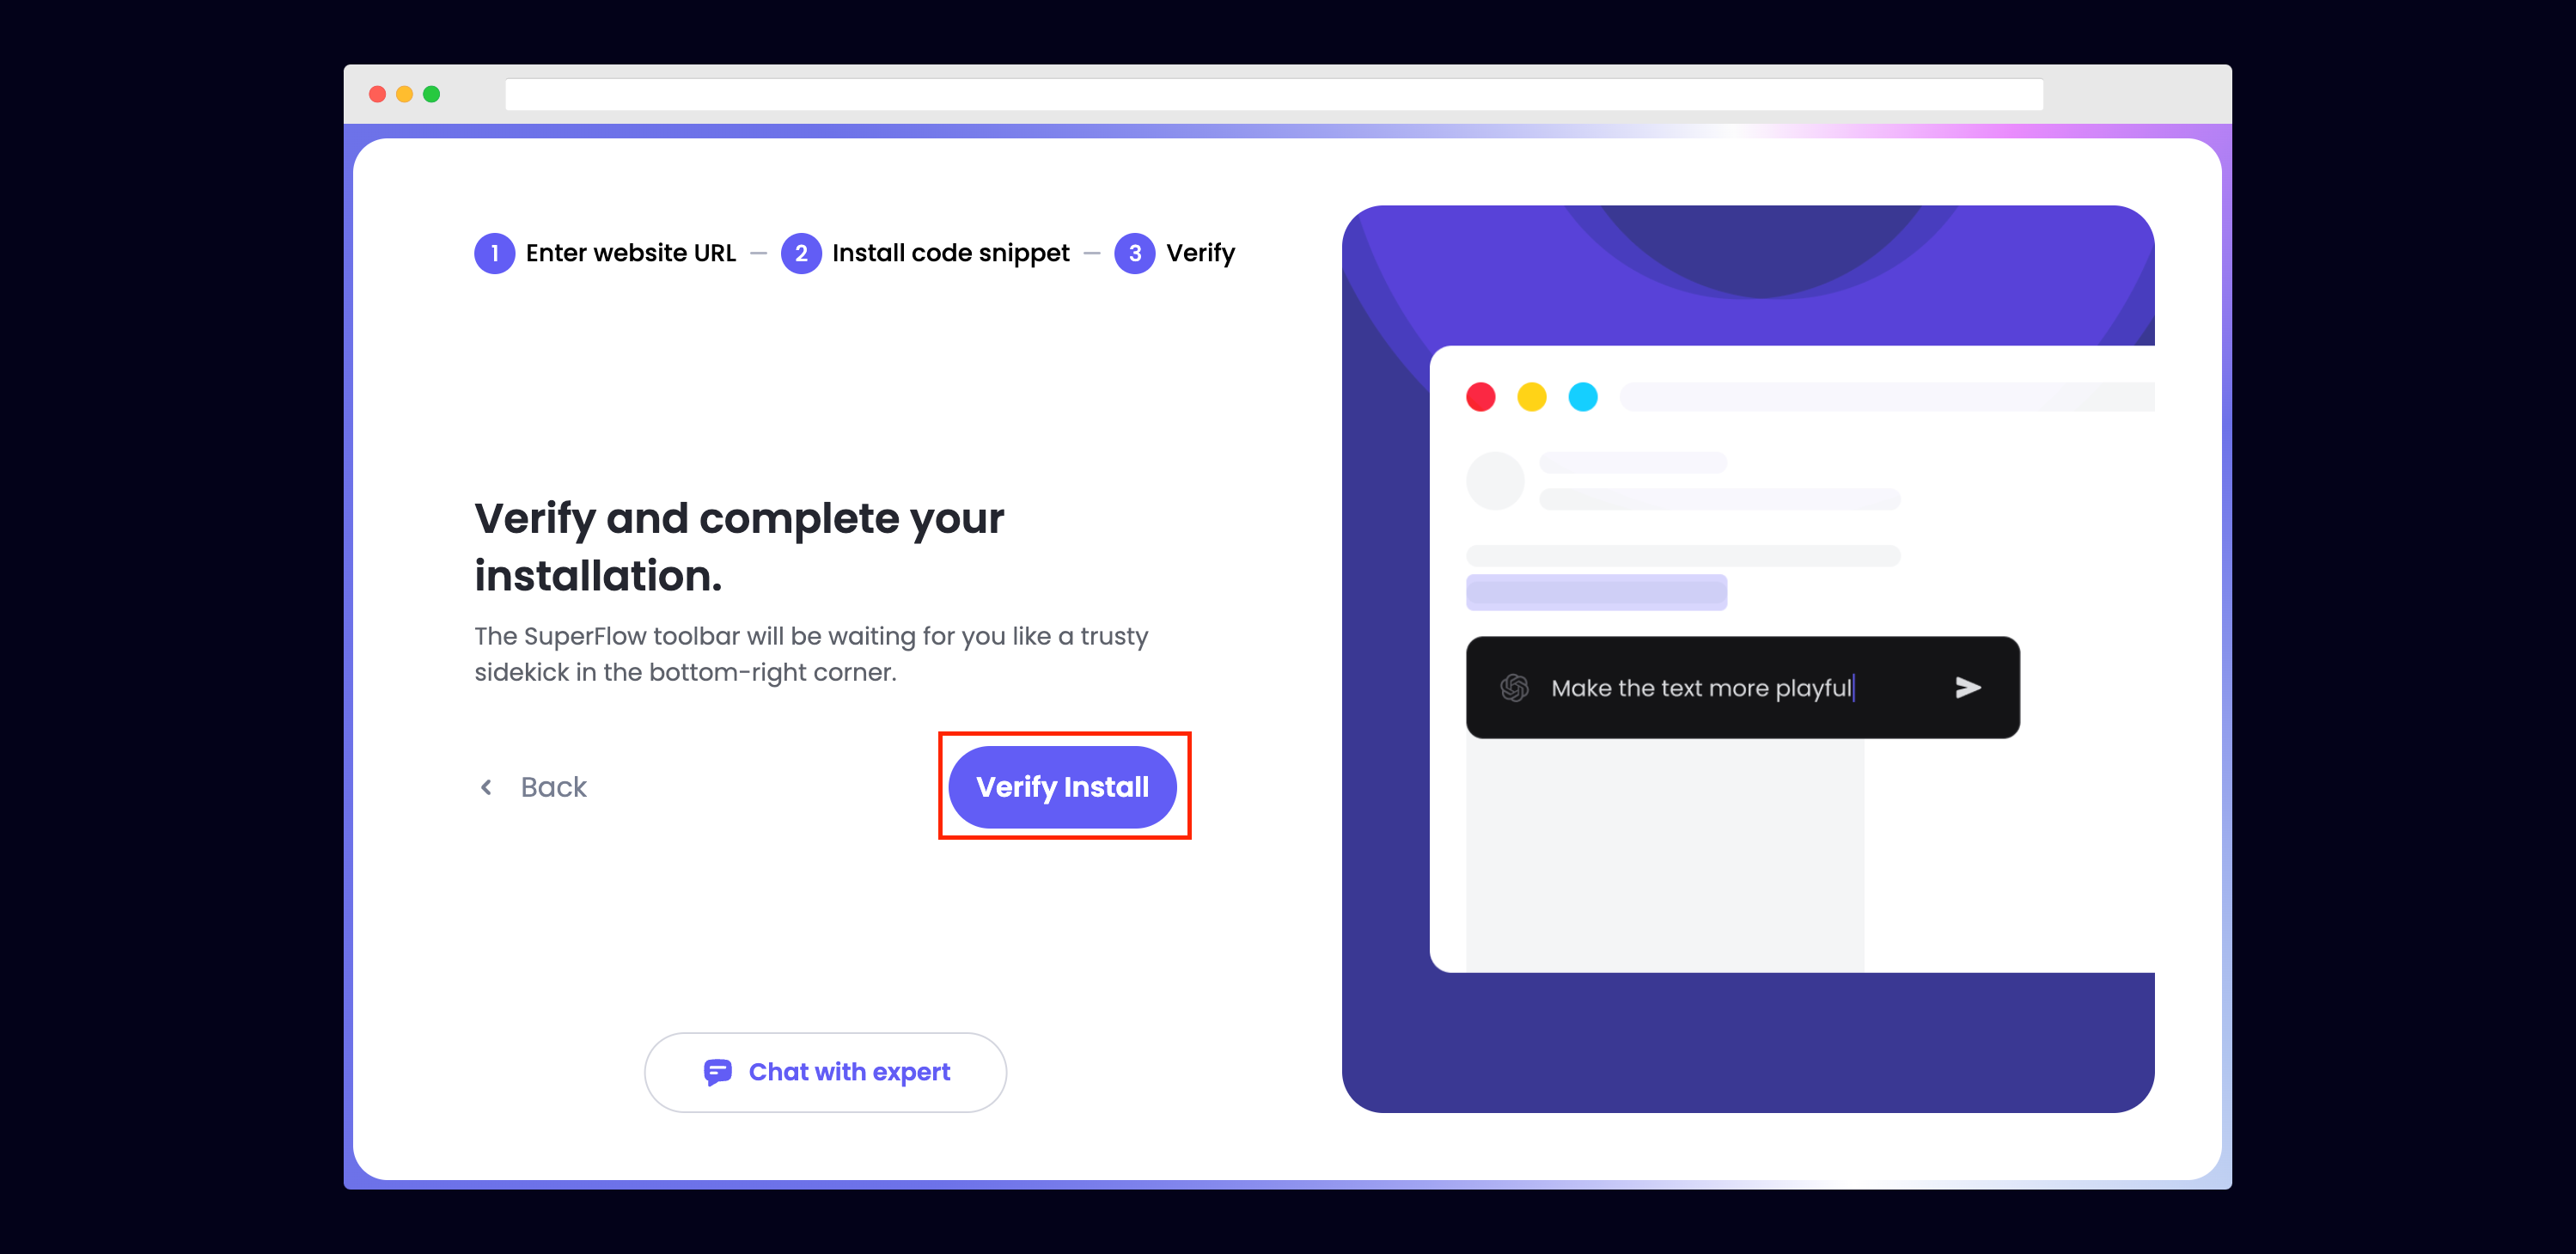 If successful, you should be redirected to your published Elementor site and see the following success message:
 ## 7) Troubleshooting
Having trouble getting your verifying your installation? Here are the common mistakes users encounter when installing Superflow:
* Did you forget to save the Custom Code?
* Did you forget to publish your site?
* Is the browser still loading a cached version?
* Did you add `?review=true` at the end of your url?
* Did you publish your changes on a staging URL while you are trying to access a Prod URL?
* Did you accidentally install multiple Superflow scripts in the Custom Code?
## 8) Navigate to your Elementor site
Now that you have verified that Superflow has been installed on your Elementor site, navigate to your published site and add `?review=true` at the end of the URL to enable Superflow.
`Example: mywebsite.elementor.com/?review=true`
## 9) Test out Superflow
You should now see a Superflow toolbar on the bottom right of you screen.
## 7) Troubleshooting
Having trouble getting your verifying your installation? Here are the common mistakes users encounter when installing Superflow:
* Did you forget to save the Custom Code?
* Did you forget to publish your site?
* Is the browser still loading a cached version?
* Did you add `?review=true` at the end of your url?
* Did you publish your changes on a staging URL while you are trying to access a Prod URL?
* Did you accidentally install multiple Superflow scripts in the Custom Code?
## 8) Navigate to your Elementor site
Now that you have verified that Superflow has been installed on your Elementor site, navigate to your published site and add `?review=true` at the end of the URL to enable Superflow.
`Example: mywebsite.elementor.com/?review=true`
## 9) Test out Superflow
You should now see a Superflow toolbar on the bottom right of you screen.
 ## 10) Dropping your first comment
Try leaving a comment on your page.
You can leave a comment in several different ways:
* By highlighting any text
* By hovering over any element on the page
* By drawing a box anywhere on the page
You can also leave voice and screen recordings in your comments as well!
## 10) Dropping your first comment
Try leaving a comment on your page.
You can leave a comment in several different ways:
* By highlighting any text
* By hovering over any element on the page
* By drawing a box anywhere on the page
You can also leave voice and screen recordings in your comments as well!