> ## Documentation Index
> Fetch the complete documentation index at: https://docs.usesuperflow.com/llms.txt
> Use this file to discover all available pages before exploring further.
# How create a new project
## How to Create a New Project
In this article, you will learn how to create a new project from the Superflow Dashboard.
Access the Superflow Dashboard by going to [app.usesuperflow.com](app.usesuperflow.com). Alternatively, when you are in Review Mode, you can use the method below:
1. Find the **Superflow Toolbar** and click the **More Options** icon.
 2. A sub-menu will expand, click the **View Project** option to select.
3. A new tab will direct you to the **Project Dashboard** page.
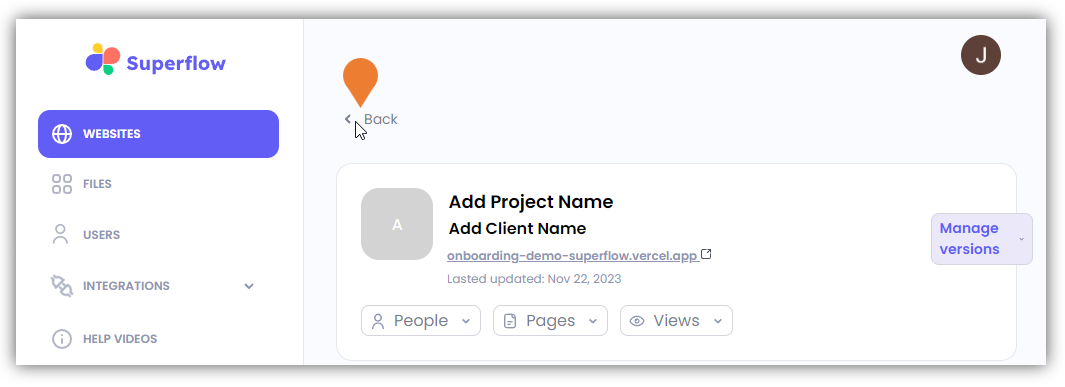
4. By default, when accessing the **Project Dashboard**, you will be directed to the Dashboard for Comment Status screen. To access the Projects list, click **\< Back** or the **WEBSITES** module.
2. A sub-menu will expand, click the **View Project** option to select.
3. A new tab will direct you to the **Project Dashboard** page.
4. By default, when accessing the **Project Dashboard**, you will be directed to the Dashboard for Comment Status screen. To access the Projects list, click **\< Back** or the **WEBSITES** module.
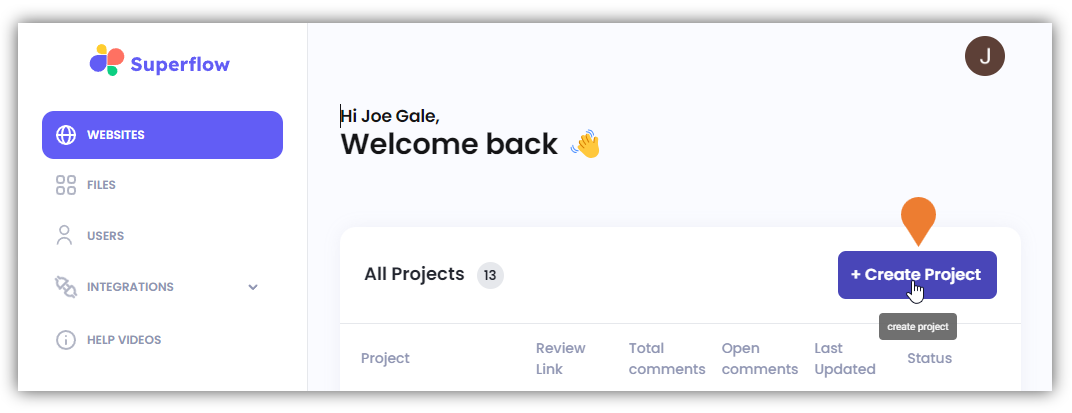
 5. Click the **+ Create Project** button.
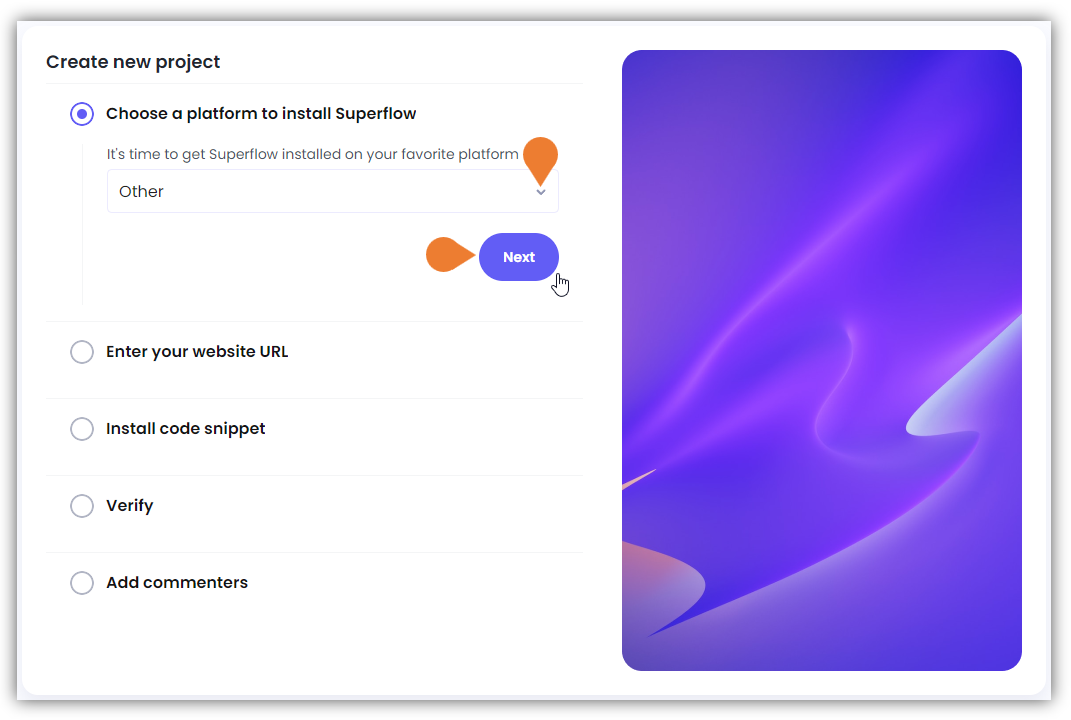
 6. You will be directed to the **Create new projec**t page. Specify the required information.
7. In the **Choose a platform to install Superflow** section, click the drop-down arrow, select the appropriate platform, and click **Next**.
6. You will be directed to the **Create new projec**t page. Specify the required information.
7. In the **Choose a platform to install Superflow** section, click the drop-down arrow, select the appropriate platform, and click **Next**.
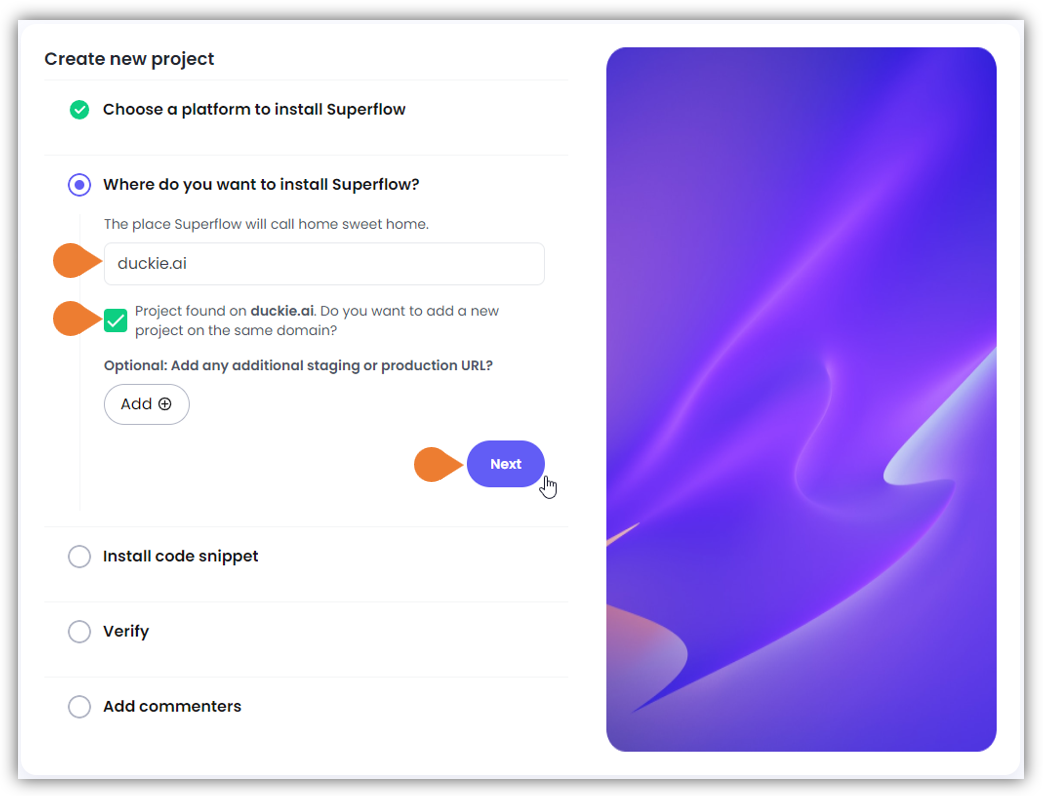
 8. In the **Where do you want to install Superflow** section, enter the staging or production URL, and click **Next**.
> **Note**: you can add multiple URLs using the **Add +** button.
8. In the **Where do you want to install Superflow** section, enter the staging or production URL, and click **Next**.
> **Note**: you can add multiple URLs using the **Add +** button.
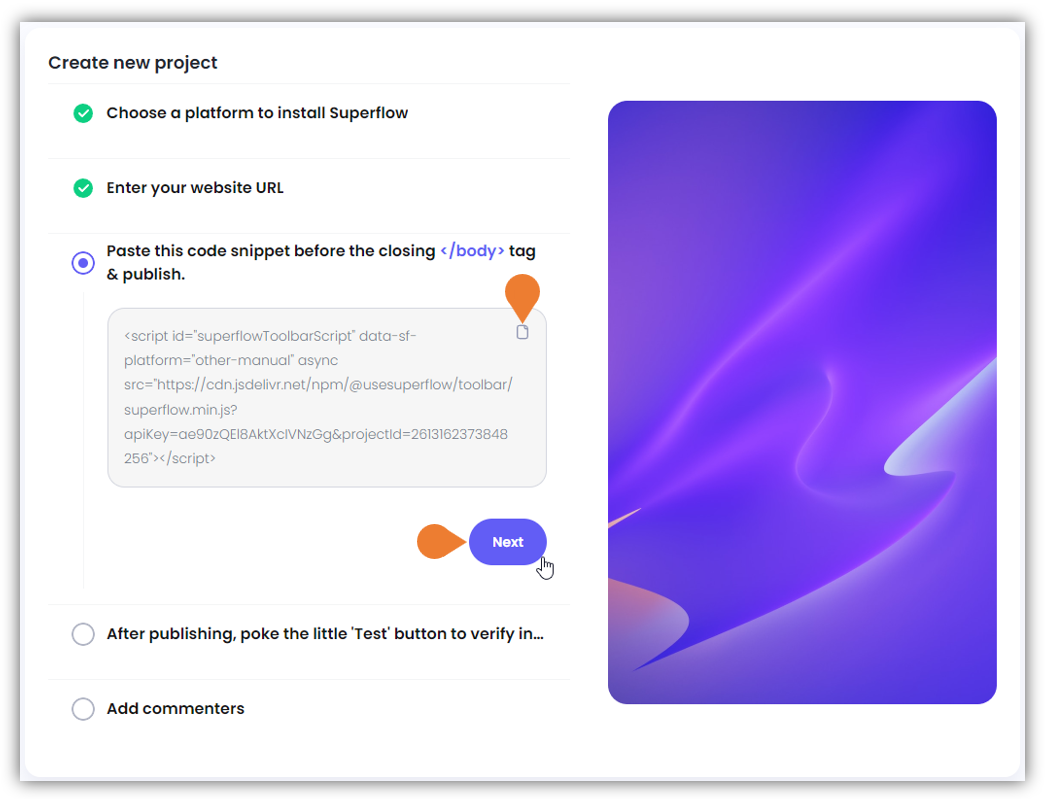
 9. In the **Install Code Snippet** section, copy the snippet using the **Copy** icon and paste it on your website. Click **Next** to continue.
 10. In the **Verify** section, click the **Test** button to verify the installation.
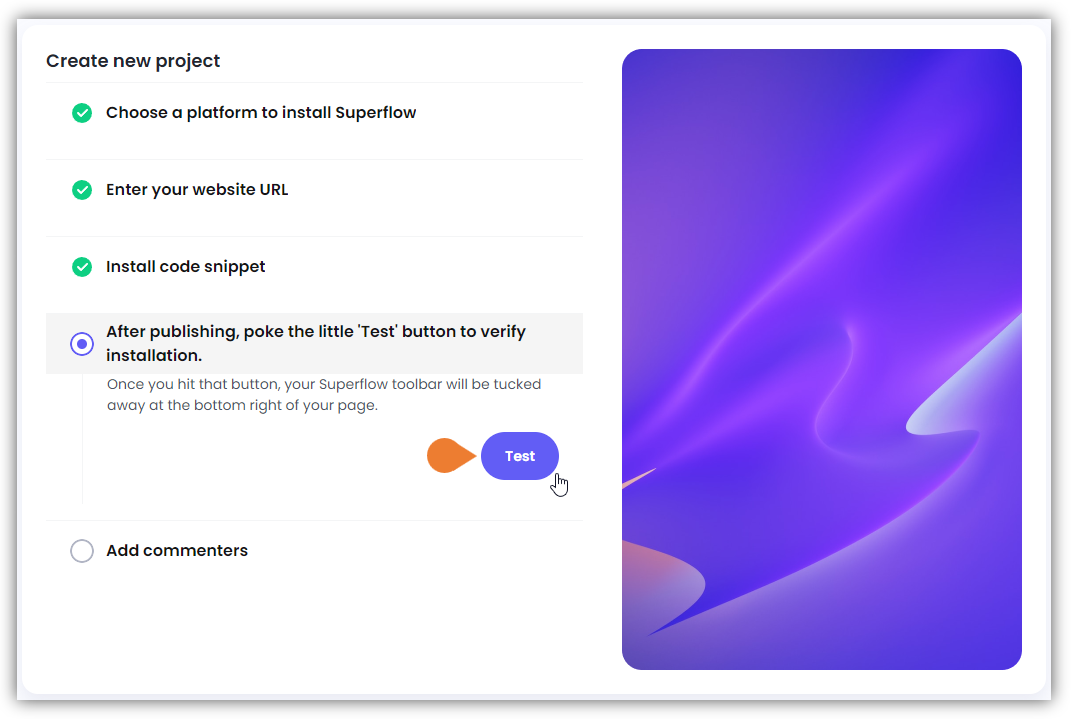 11. A new window/tab will open indicating that the snippet was installed successfully, click **Next**.
 12. Once the testing stage is completed, you will be directed to the **Add Commenters** section to add commenters to your new project.